
7. Design and size the wrap
If the job will be a full vehicle wrap, the design will need to be broken down into print panels that scale to the exact measurements of the vehicle in question, using detailed notes, photos, measurements and the aforementioned extra measurement to double-check the accuracy of the layout. Once these panels are accounted for, the wrap design can be created based on solid data and, as mentioned, on the customer’s budget.
8. Get the green light from your customer
When obtaining customer approval for the wrap design’s image and colour qualities, it is important to show samples of the media the wrap will be printed on.
After the artwork has been approved by the client, the files should be saved to a RIP (raster image processor) folder. It is important to get both a signature of approval and a deposit before any printing begins.
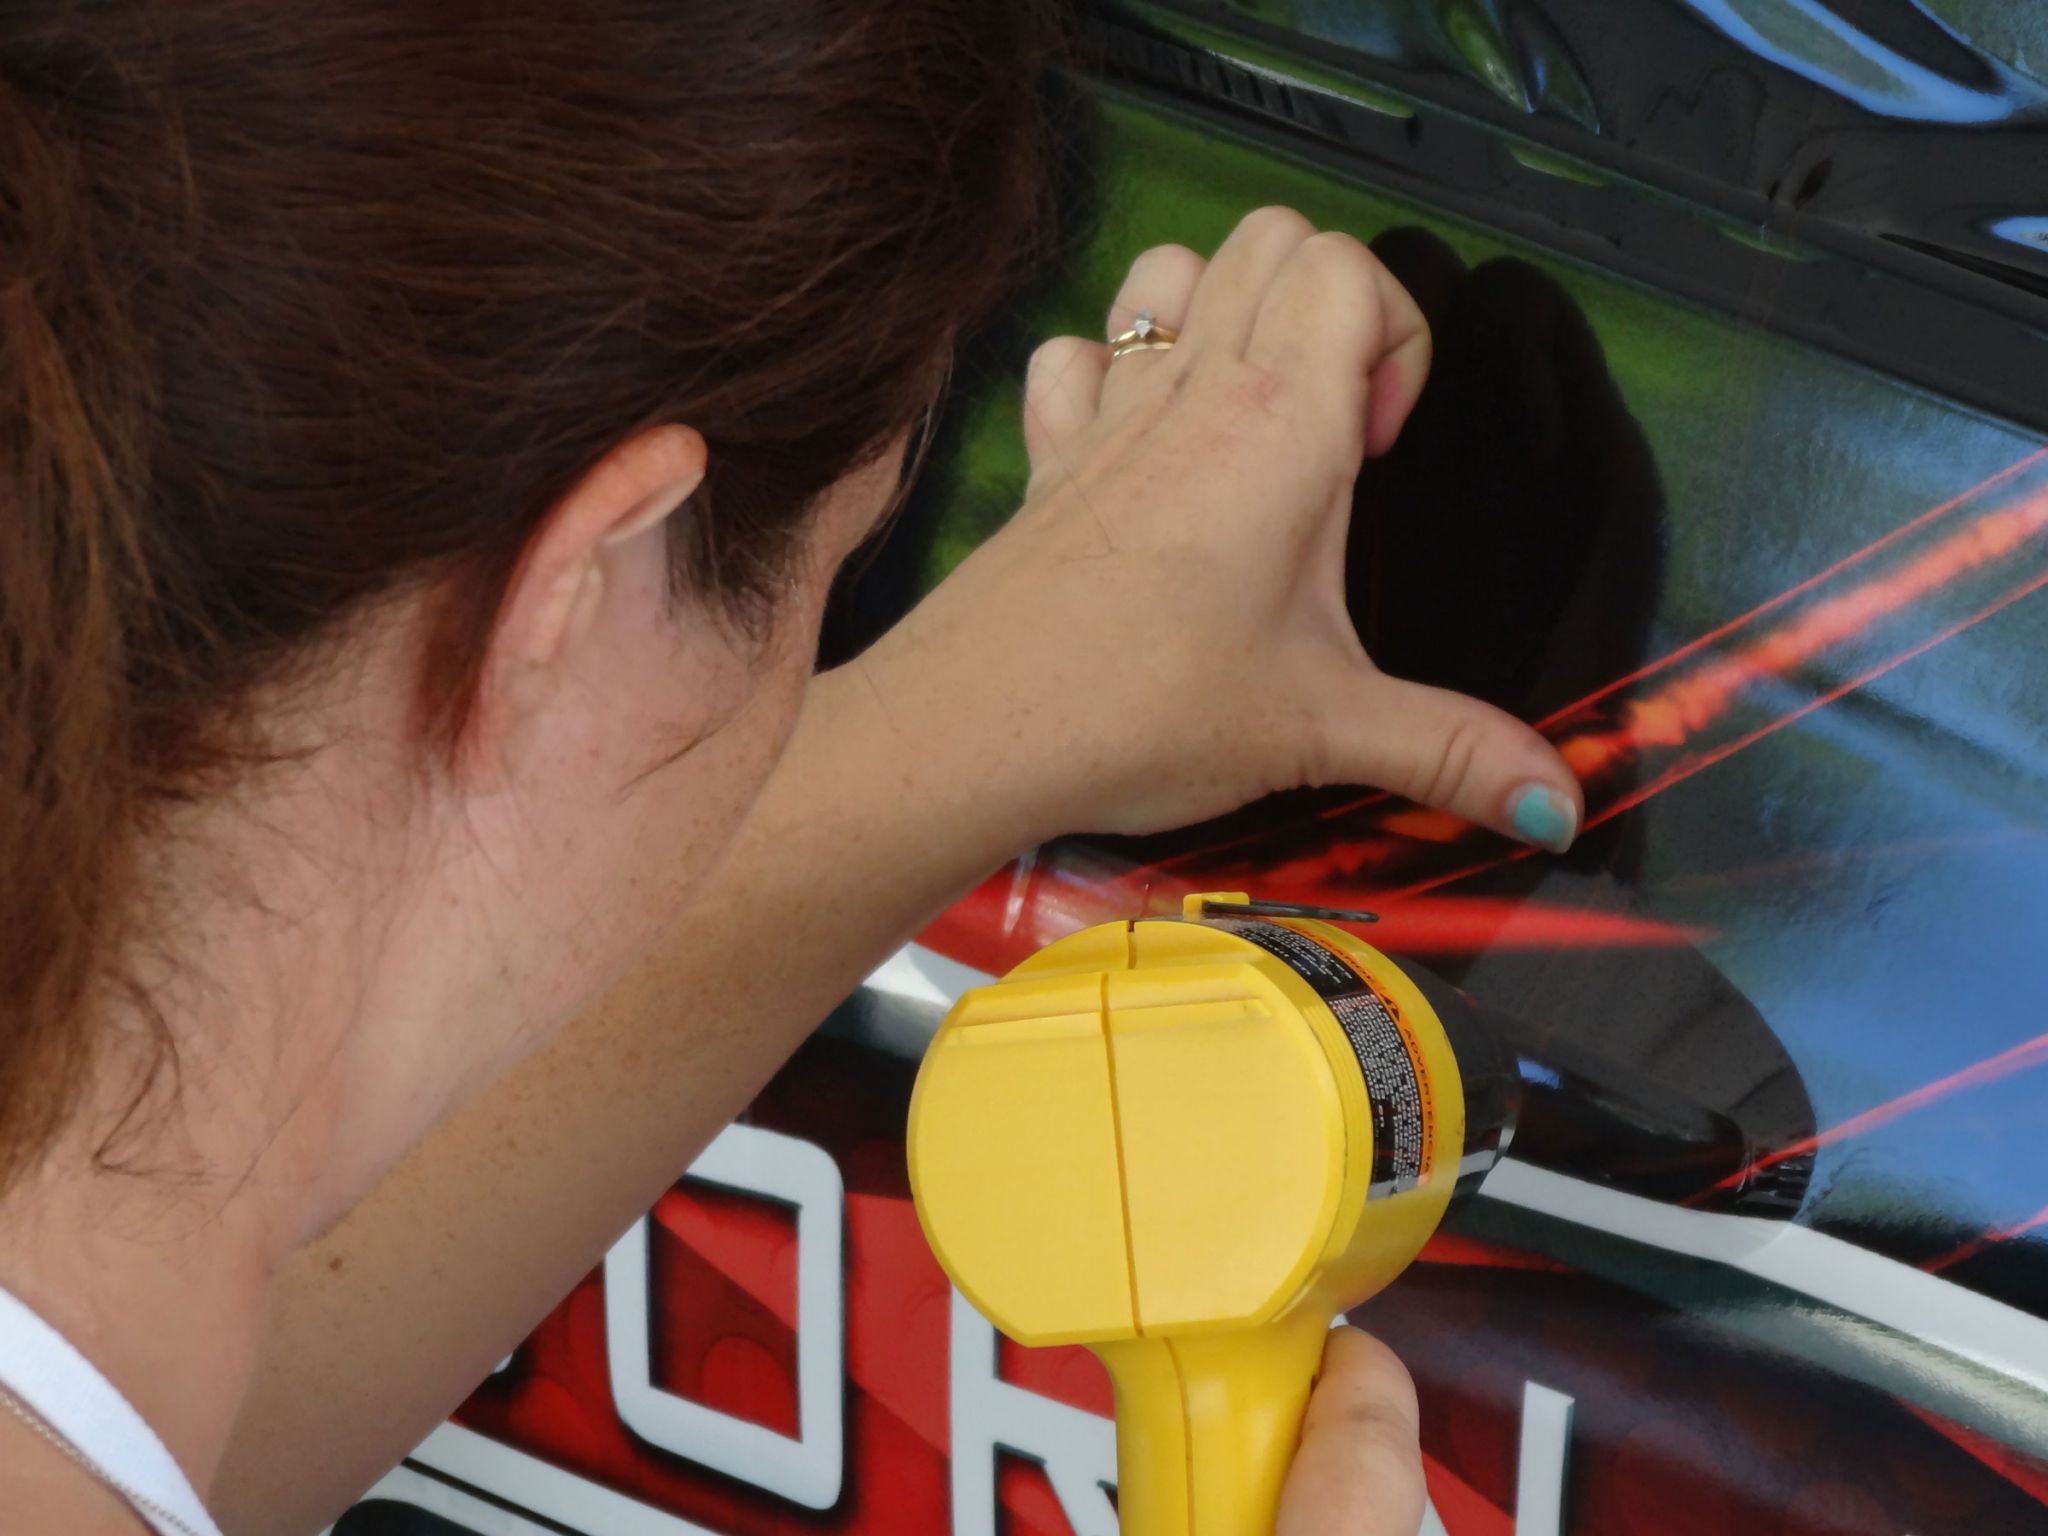
Portions of the wrap will need to be heated to comply with difficult contours. Photos courtesy Roland DGA
9. Choose a panel type
It would be great if every wrap job were seamless, but that is not the reality of the business. At some point in the process, the time will come to panel or seam the wrap. This brings up a crucial decision: whether to use horizontal or vertical panels.
Horizontal panels are larger and need to be laid down on the vehicle starting at the bottom and working up to the top. Once they are on straight, the job is done.
Vertical panels, on the other hand, are smaller and easier to handle during installation, but will need to be dry-fitted to the vehicle before actual application.
The decision between the two is really just a matter of personal preference, but regardless of which panel type is selected, care needs to be taken not to overstretch the seams, as this could compromise the accuracy of the image registration.
10. Inspect and dry-fit the graphics
Producing vehicle wraps in-house provides the ability to control the quality of the printing and lamination steps. At some point, however, a sign shop may instead be hired to install preprinted graphics provided by the client or another company.
For these installation-only assignments, it is very important to ensure all of the necessary graphic panels are present and accounted for. They should also be dry-fitted onto the vehicle to confirm their correct sizing.
11. Install the wrap
This is what it all comes down to—the best design, print and media do not count for anything if they are not also followed by a great installation.
The best installation is one that results in a vehicle wrap without any noticeable seams, bubbles or other imperfections. With this in mind, the quality of the wrap should be inspected by its installer at close range (as that is what the customer will do later, too).
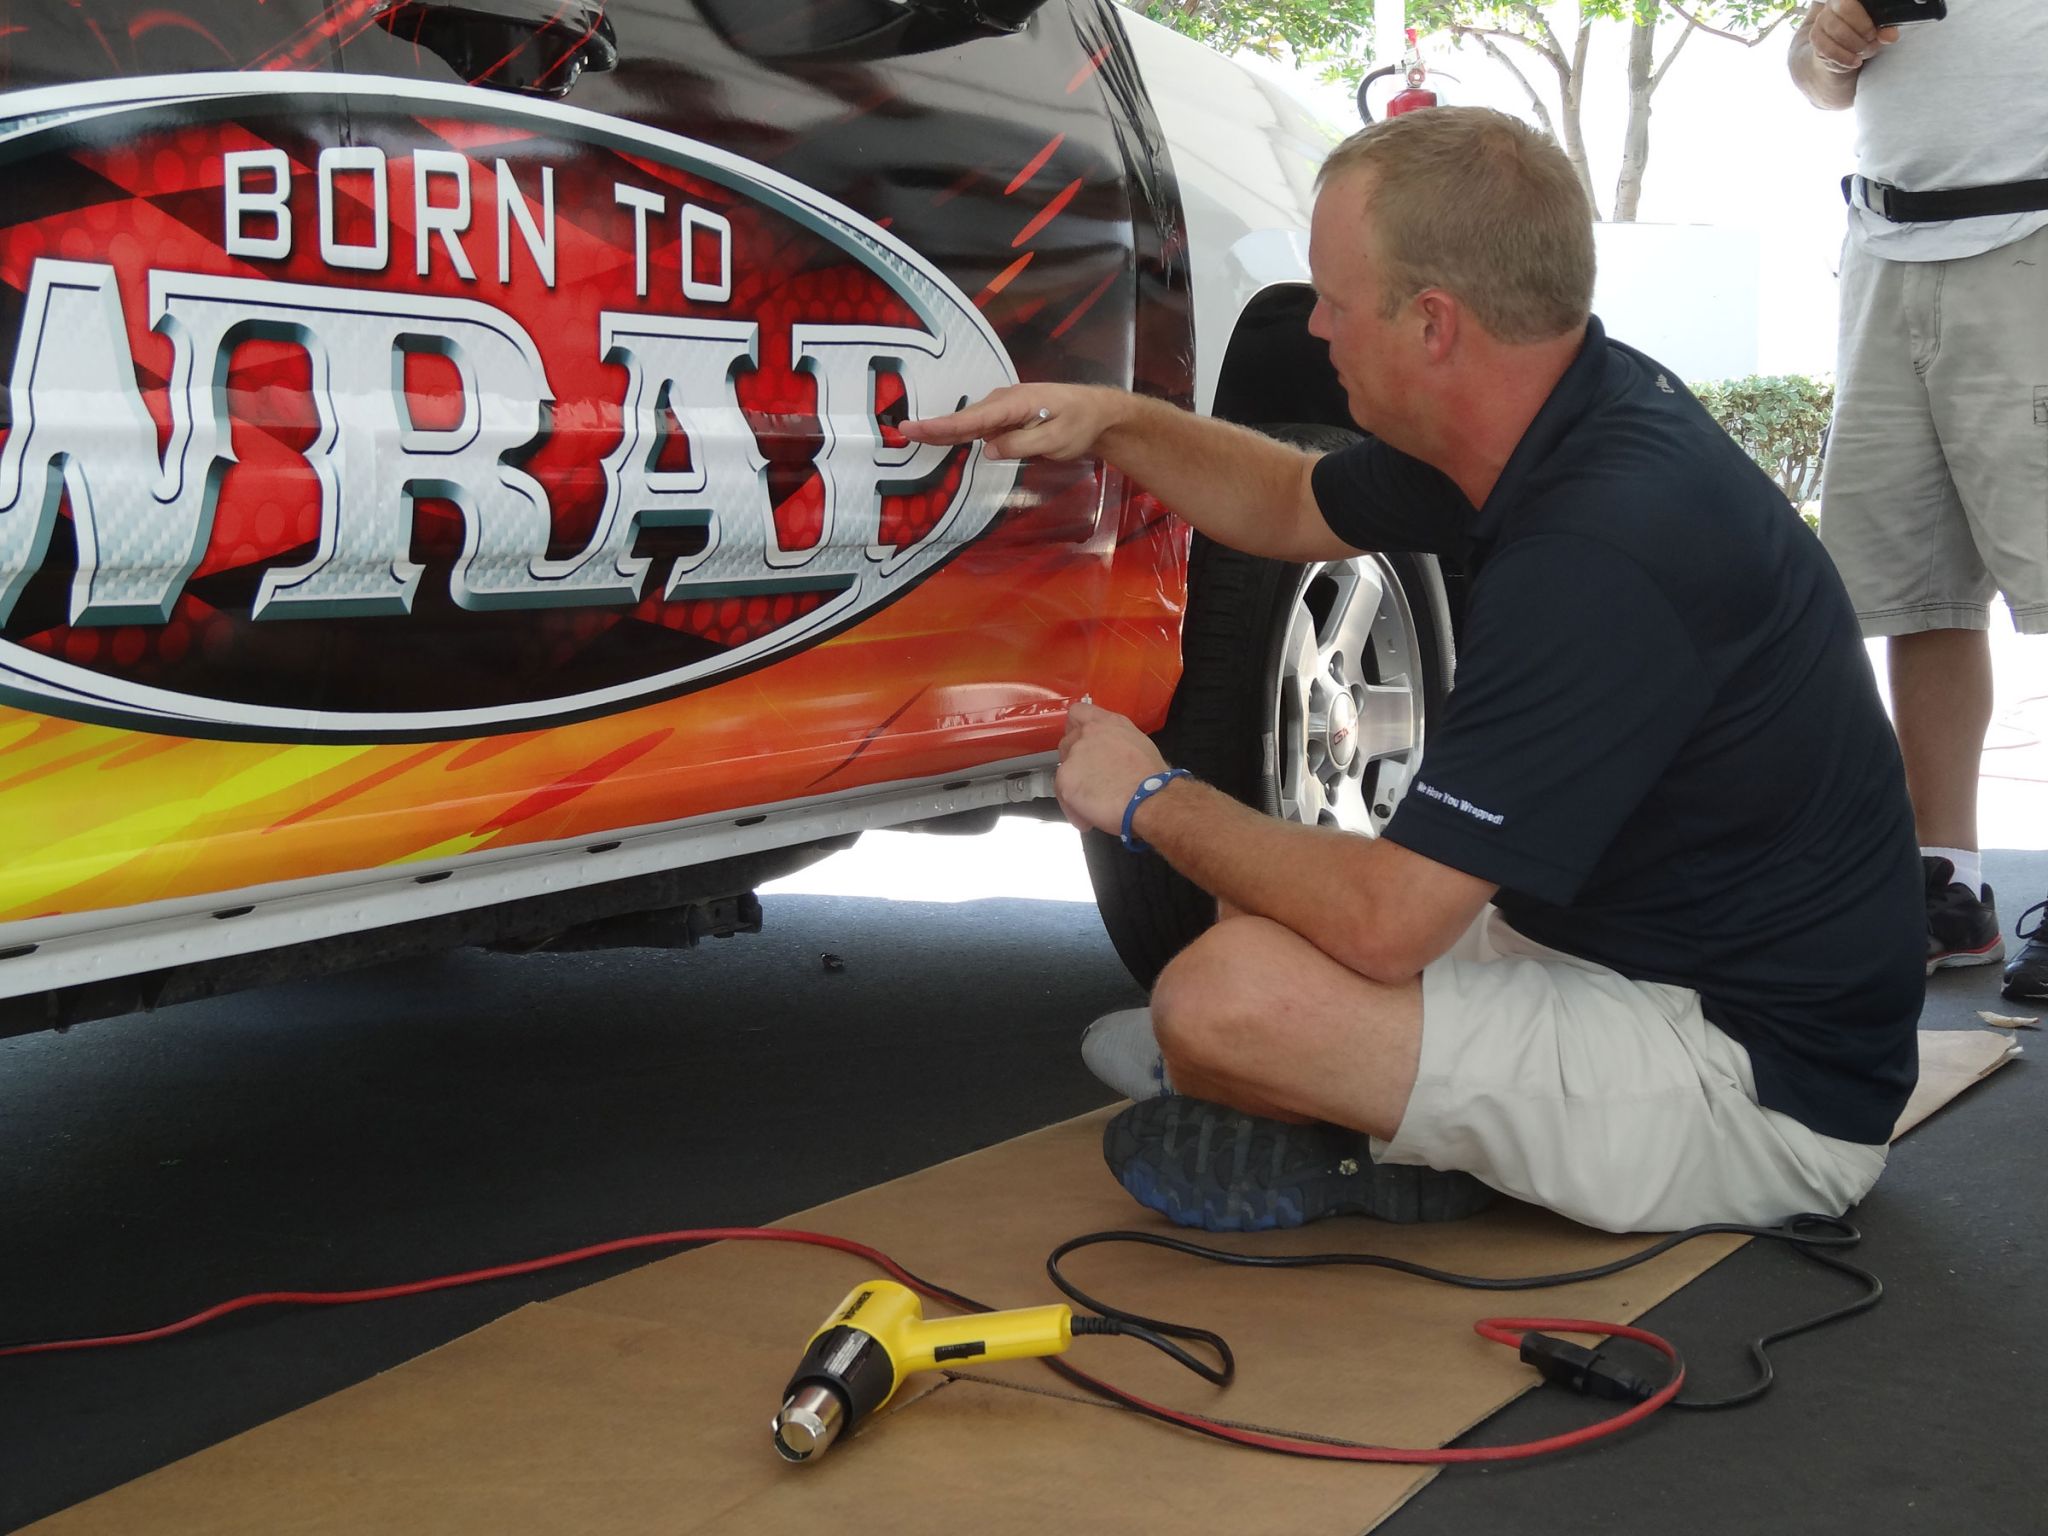
A successful wrap requires attention to detail. Rather than rush the finished product back to the customer, the installation should be double-checked thoroughly.
Most vehicle wrapping media feature some degree of repositionability to help ease their initial tack, so any bubbles can be removed during installation. As the installer’s skills improve, he/she will be able to work successfully with a wider variety of media.
After the graphics are installed, the excess material should be trimmed away, the door panels separated and the door handle and window areas cut out, but taking care not to cut into the vehicle’s paint job, as the customer will eventually remove the wrap.


