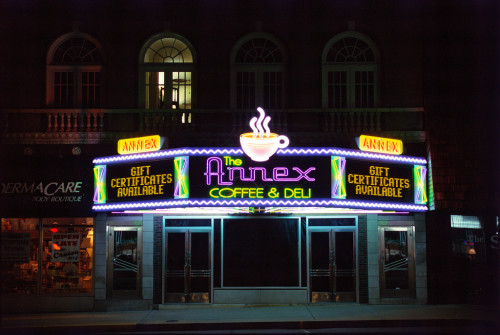
 What do light-emitting diode-based (LED-based) electronic message centres (EMCs), unknown flying objects (UFOs) and the Loch Ness Monster have in common? All of them are notoriously difficult to photograph!
LED EMCs are really not impossible to capture by camera, of course, but it can be challenging to do them justice through photography. There are certainly enough bad sign photos around to show how important it is to get it right. In the worst cases, photos show blurry, distorted and washed-out images of signs that look great in person.
By understanding a few concepts and making adjustments to a camera’s settings, however, these photos can improve significantly. The first step is to set the camera to shutter priority mode, commonly denoted with ‘Tv’ or ‘S’ on the device’s dial. This will automatically compensate the camera’s International Organization for Standardization (ISO) image sensitivity and aperture to optimize the aperture.
If the camera’s shutter priority mode does not achieve the desired results, the next step is to try full manual mode, commonly denoted with the dial’s ‘M’ position, and then become more familiar with and adjust specific traits of the camera.
The most important step in this respect is to reduce the shutter speed to 0.07, 0.03, 0.017 or 0.008 seconds. These speeds help mimic the sign’s own image-refresh rate to better ensure photos do not show ‘tiling’ or lines across the LED modules; slowing down the shutter speed gives the modules time to get in synch.
 The lower the shutter speed, however, the steadier the camera will need to be to prevent blurry results. The general rule is to use a tripod or at least prop the camera on a steady surface—like the roof of a parked car—when shooting any photos with a shutter speed slower than 0.017 seconds.
Once the shutter speed has been changed, it may also be necessary to change the ISO setting for sensitivity to light. When the shutter stays open longer, more light is let into the camera, which can result in blown-out photos, especially on bright, sunny days. This problem can be prevented by setting the camera’s ISO setting as low as it will go (typically 100). The ISO may then be increased when not in direct sunlight, but even then, it should rarely go above 400 when shooting outdoors. Low ISO levels will also produce the cleanest images with minimal digital ‘noise.’
Similar to shutter speed, the camera’s aperture setting—or f-stop—controls how much light can reach the image sensor inside the camera. The higher the f-stop number, the less light allowed in. So, when using a lower shutter speed, the f-stop should be increased to prevent washed-out, overexposed photos.
 While using the appropriate settings will make a significant difference, it is also important to pay attention to ambient lighting:
• Avoid taking photos in bright sunlight; shoot the shaded side for better exposure.
• Stand far enough away to capture the entire structure, not just the LEDs.
• Take photos from different angles.
• Try to capture the most colourful or impactful screen content.
• Shoot from angles that eliminate or diminish distracting background clutter.
With files from Watchfire Signs. For more information, visit www.watchfiresigns.com.


