
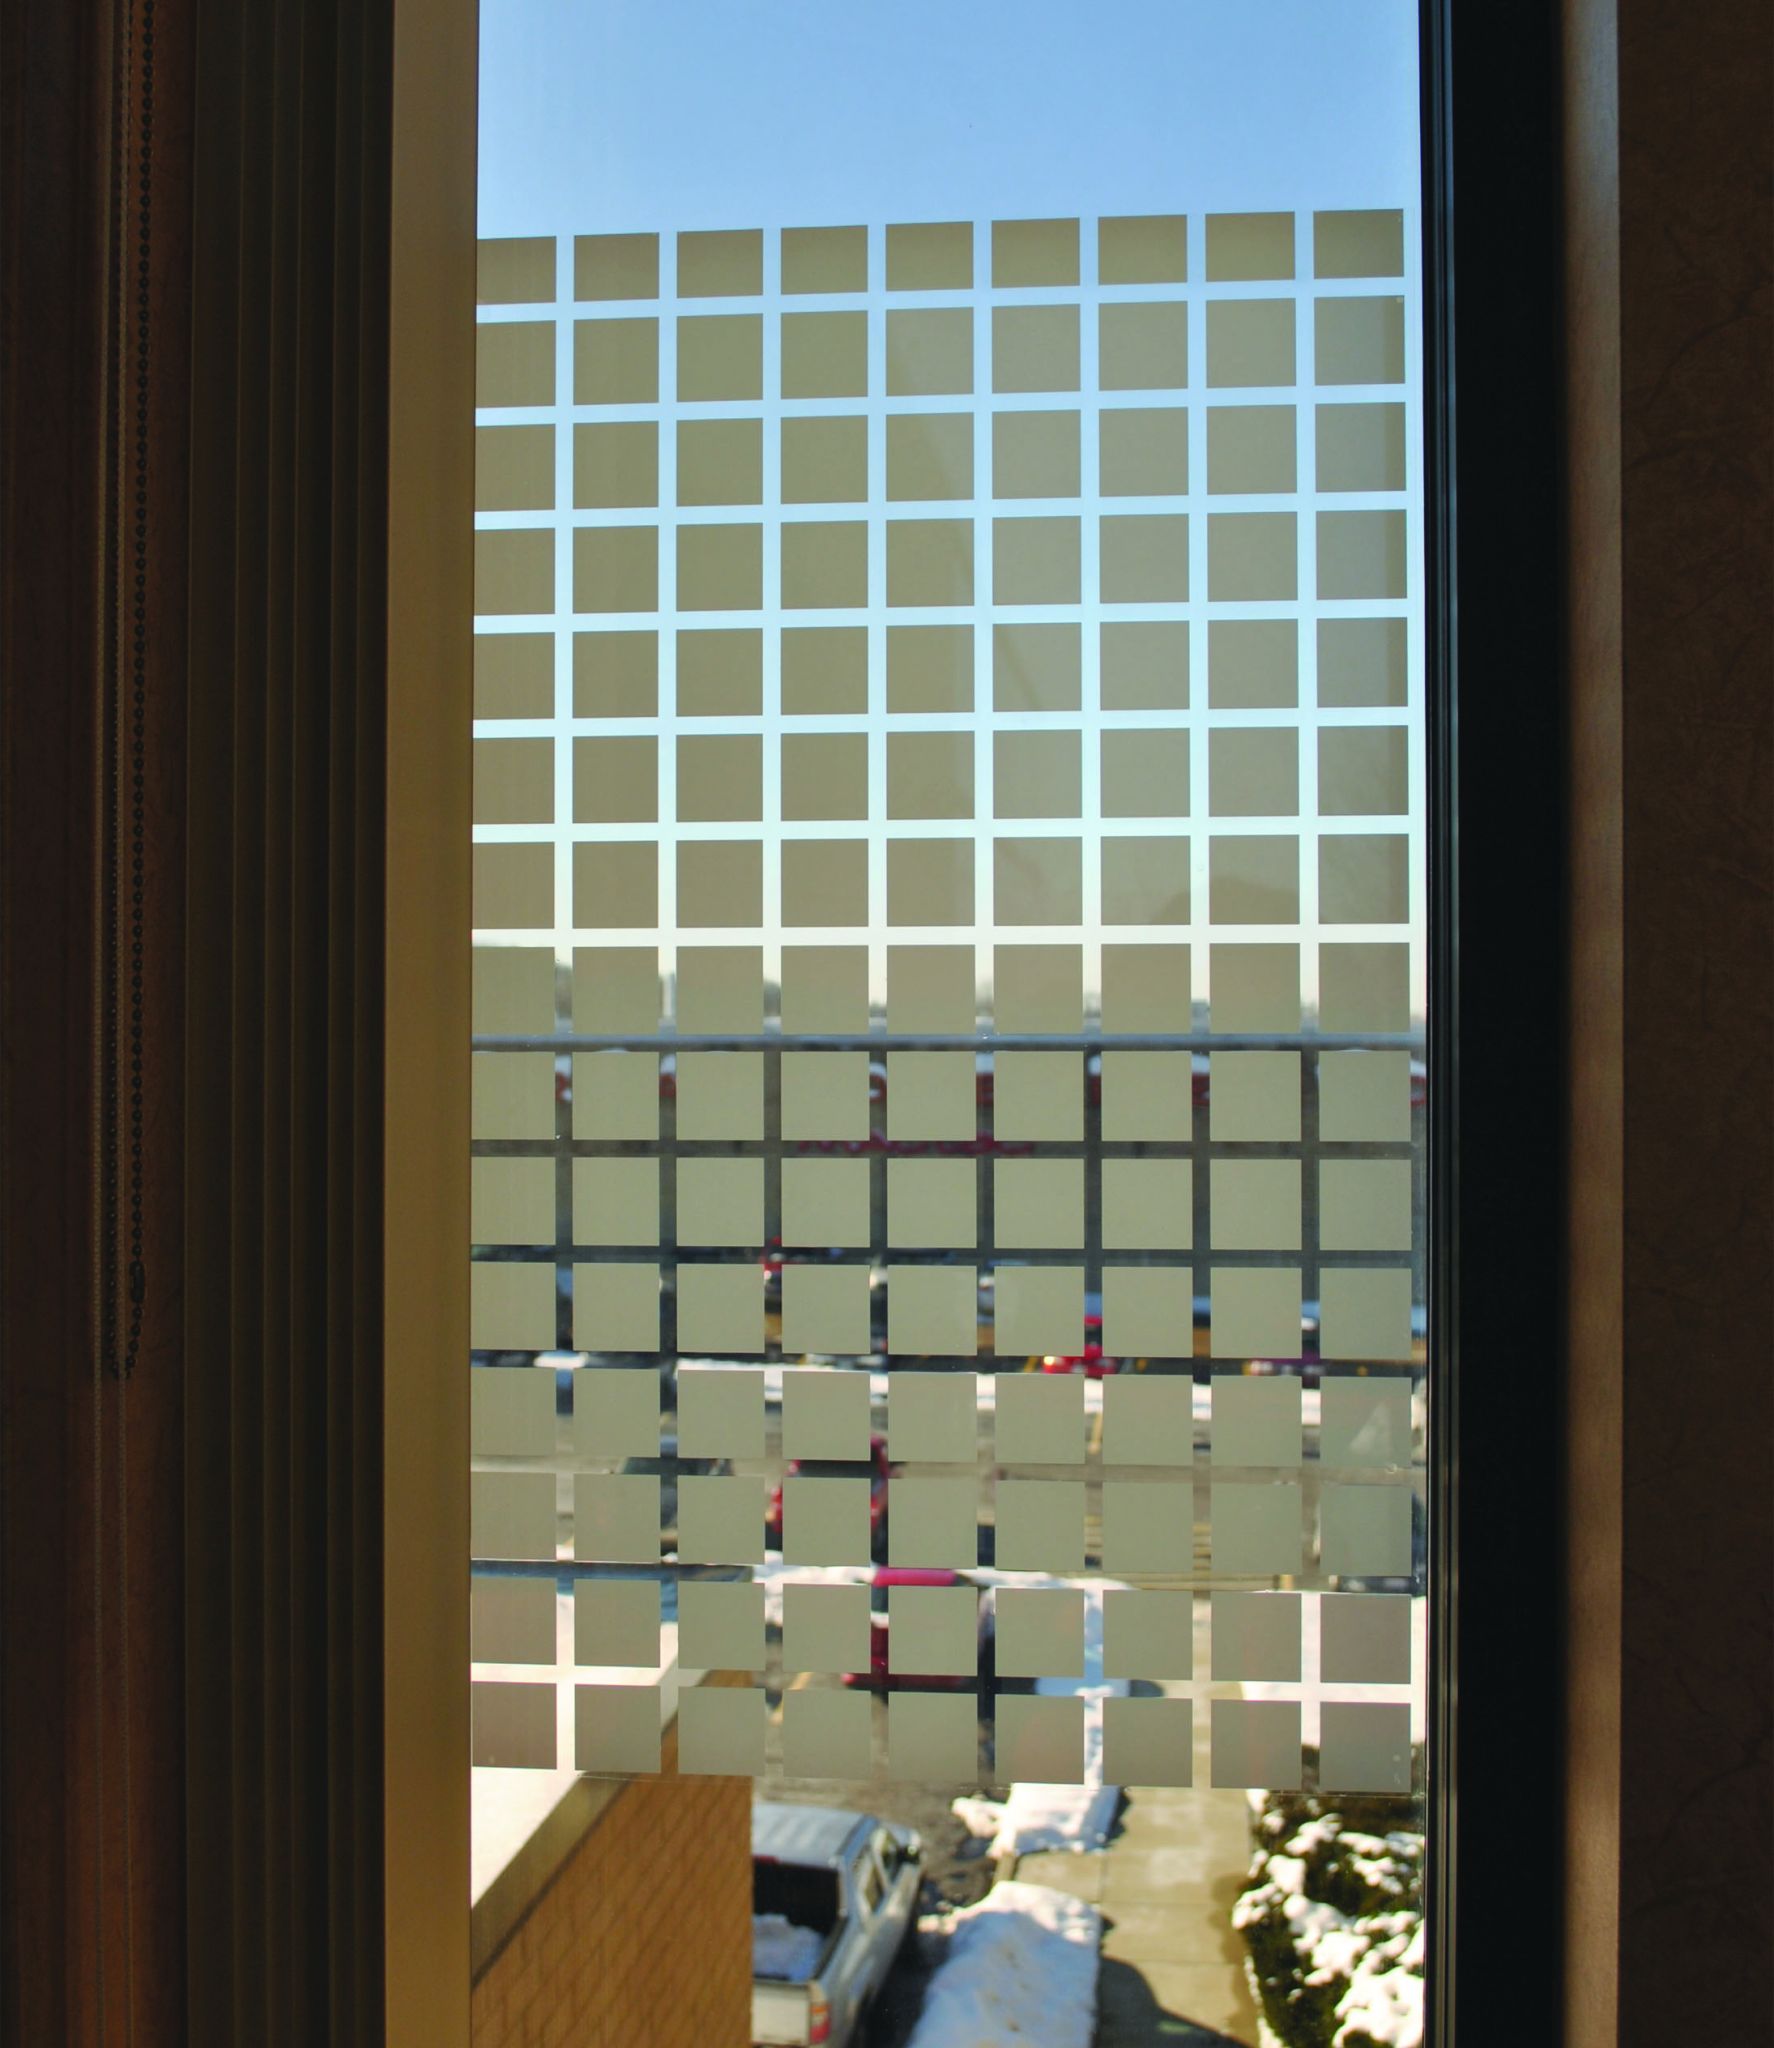
Window films are being installed not merely for advertising purposes, but also for décor and privacy.
Experts in the PDAA zone outlined this dry application process:
- Tape the graphic into place on the window.
- Remove the first few inches of the graphic from the liner.
- Make a hard fold in the liner; this approach is known as the ‘hinge method.’
- Firmly press down using a felt squeegee in a left-to-right motion.
- Slowly remove the liner while continuing to secure the graphic with the squeegee.
- Trim excess material away from the rubber or silicone window seals to at least 6.4 mm (0.25 in.).
- If the installation is on the outdoor side of window, use a laminate to protect the vinyl and inks.
It is still important to clean windows with isopropyl alcohol and a lint-free cloth before the graphic application, avoiding ammonia-based cleaners that leave residue, and to only install graphics when temperatures exceed 10 C (50 F).
Learning more
In terms of ongoing training, there is no substitute to live demonstrations like PDAA’s. Graphic installation best practices can be learned year-round from industry experts.
Meanwhile, magazine articles, online application videos and other resources are readily available at any time, ensuring installers can stay up-to-date on techniques and applications of any type. Product suppliers are also prepared to provide assistance and answer questions about materials and procedures.
Jason Yard is marketing manager for Mactac Graphic Products and leads the company’s Application Nation information resource for installers and detailers. For more information, visit www.mactac.com, www.theapplicationnation.com and www.pdaa.com.


