

It may be important to avoid disrupting regular business activities at the premises.
Putting together a kit
The other advantage of an accurate site survey is it allows a specific kit of equipment to be compiled for a job, rather than filling a truck with whatever might be needed. That said, it is never possible to predict with 100 per cent accuracy exactly what equipment will be needed—there may still be the occasional last-minute trip to a hardware store!
A typical toolkit will include a cordless drill with a variety of bits, stud finder, screwdriver, level, hammer, pencil, socket wrench, stepladder, tape measure, sheetrock saw, Category 5 (Cat5) termination tools and tester, extension cord and Universal Serial Bus (USB) keyboard, mouse and flash drive. Other must-have items include black wire ties, industrial-strength Velcro and wire and jack labels. At the ‘nice-to-have’ level are Category 6 (Cat6) cable, wall jacks and plates, eight-conductor modular plugs, cable covers and an assortment of togglers and lag bolts.
Another question is whether or not the site can receive and store equipment relating to its digital signage network. Office buildings usually can, while retail stores and restaurants generally cannot. This will affect kitting, shipping and staging.
For multiple installation locations, density is a factor in deciding whether to centralize storage or ship direct. It is important to tightly co-ordinate shipping logistics with the installation schedule, so as to help minimize the risk of lost or mishandled equipment and to avoid having to abort installations when the equipment is not on-site on time.
Listing instructions
For larger, repeatable digital signage deployments, an installation manual should be created, with lots of pictures and a minimum of words, as it needs to be short and easy to read. Pictures are helpful at identifying key deliverables—such as ensuring the mount is level on the wall—that are important for the installer to know in advance.
The manual should not only align its outlined steps with those of the actual installation, but also highlight the most important and/or most frequently skipped steps (e.g. “Call before you leave the site”). With this in mind, it is a good idea to test the guide against an actual installation or two (or more).
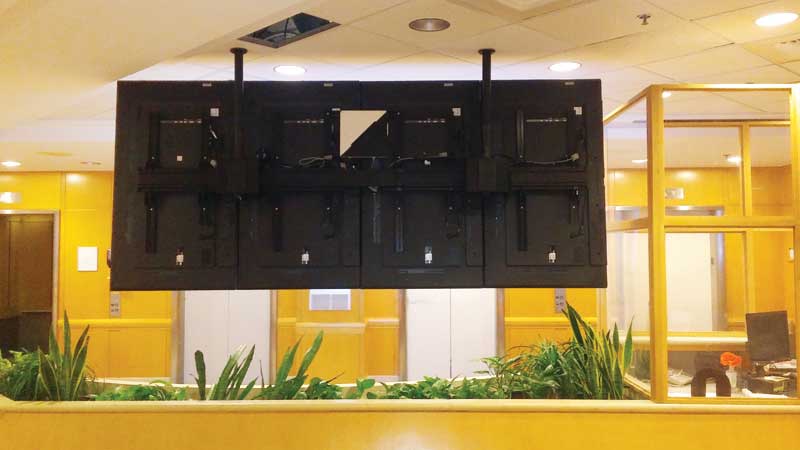
For this ceiling-mounted installation, four portrait-mode screens were joined to create a larger landscape-mode array.
Tapping into infrastructure
Digital signage depends on IT network infrastructure, which must be considered on a site-by-site basis.
In a retail store, for example, there is often already a corporate IT network, but one that is kept secure, as it handles point-of-sale (POS) transactions and other sensitive data. So, the installer will usually need to put in a parallel network instead of using the existing one.
In other cases, a suitable network may be already in place and operational, but additional equipment might still be needed to support the media players (e.g. extra ports, switches and wireless routers) and the network may need to be specially configured to support the screens.
The question of who provides the network needs to be asked at the outset, in relation to where the screens will be installed and what the project is intended to achieve. These cannot be afterthoughts. The network is the most underestimated ‘time sink’ in digital signage installations.
Similarly, power outlet locations must be clearly specified to an electrician, including their exact distance above the floor and horizontal range from fixed landmarks on the walls. The outlets should be completely hidden behind the installed displays. Studs and other obstacles can also affect outlet locations.
A dedicated circuit breaker is helpful to keeping digital signage on continually, but it too will involve considerations of distances from panels to outlets, any obstacles along the routing path, conduits, space in the electrical panel for new breakers and access to the electrical room.


