Knowing specifics such as the wall condition, paint age, temperature, and warranty will be helpful for ensuring a successful installation.
Adjusting for environment
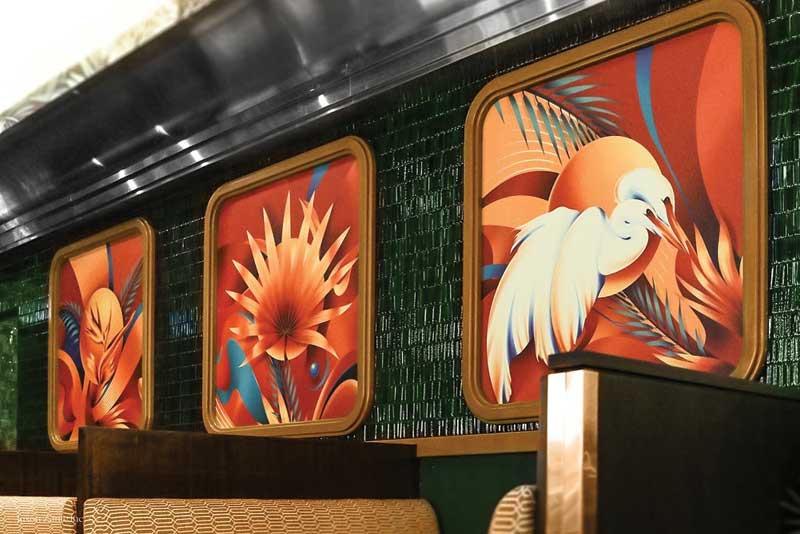
The materials we use can be partially standardized, incorporating what we know about films and adhesives to identify a few go-to solutions for these applications. Take our opening example: the walls have a texture to them, and we know our film, adhesive, or both will need to be able conform to the peaks and valleys of the wall. We can rule out most monomeric vinyl films, as they will not conform and stay put, and we should probably also avoid intermediate or blended films. Textured walls are best served with a full polymeric vinyl—either calendered or cast—as this will give the best conformability and flexibility, and the least amount of shrinkage of the available options.
Considering the potentially wet or steamy environment of a bathroom, it would be best to use a solvent-based adhesive versus a water-based acrylic adhesive for this project. The reason for this is the latter option uses water to deliver the glue to the liner in the coating process. If you have ever wet applied a clear decal to a window and noticed a chalky haze that dissipates after a while, it is because the vinyl you used incorporated a water-based adhesive. The hazy effect is caused by the water reacting with the adhesive. It can be temporary, such as on a window where the water is squeezed out and dried, but if it can creep behind the vinyl on a textured or porous surface, the water mix can compromise the adhesive bond. With a solvent-based adhesive, water was never part of the mix, and it will generally not be affected by contact with moisture. This does not mean the substrate is not impacted by the presence of water, such as with unsealed concrete and brick applications, but it would create a disruption between layers (adhesion) versus a breakdown of the adhesive layer (cohesion).
However, indoor smooth wall applications are just fine to use a monomeric or intermediate film and a water-based adhesive. Consider the initial tack of the adhesive being used, the immediate and long-term repositionability and removability, and even whether the vinyl can be reused in different locations, such as with some microsphere-beaded adhesives.
No matter the location of the project, surface preparation is key. Whether you are inside and need to make sure the paint is cured and clean, or outside where it may require pressure washing and a wire brush, it is critical to ensure your surface is free of loose debris, significant moisture, or contaminants such as grease or dust.
The way you install may vary, and it is important to test and practise with your chosen materials to hone your technique. Whether top to bottom or left to right, overlapping panels or butted together, you should explore both what the material is capable of and best suited for, as well as what you are most comfortable with for the types of jobs you choose to do.
Further, every manufacturer and material will have its own recommendations for application temperatures, cleaning and maintenance, durability, and removability. Their technical data sheets are your go-to location for details on the specific wall vinyl or fabric. When getting ready for a project, consider printing out a copy of the associated material documentation to go along with your job packet, and jot down helpful details such as the corresponding lot number, in case you need to refer back to it in the future. You can even create a site visit checklist, where the customer signs off on details such as the wall condition, paint age, temperature, and warranty. These specifics are not only helpful for ensuring a successful installation, but it is also nice to have the extra layer of documentation in the event something goes awry.