
Photos courtesy Nova Polymers
By Dave Miller
As photopolymers become the industry-standard material for braille and other tactile characters in accessibility signage systems, sign fabricators need to develop best practices for preparing them. Painting photopolymer-based signs, especially, will significantly expand the selection of colours and finishes available for sign designers. A clear topcoat will also be required for those signs that are subsurface-decorated with paint, digitally printed graphics or patterns in the base substrate.
The photopolymer sign painting process includes many steps, including initial safety precautions, cleaning the substrate, paint mixing techniques, spraying with a paint gun and checking the results with a wet film gauge.
Safety first
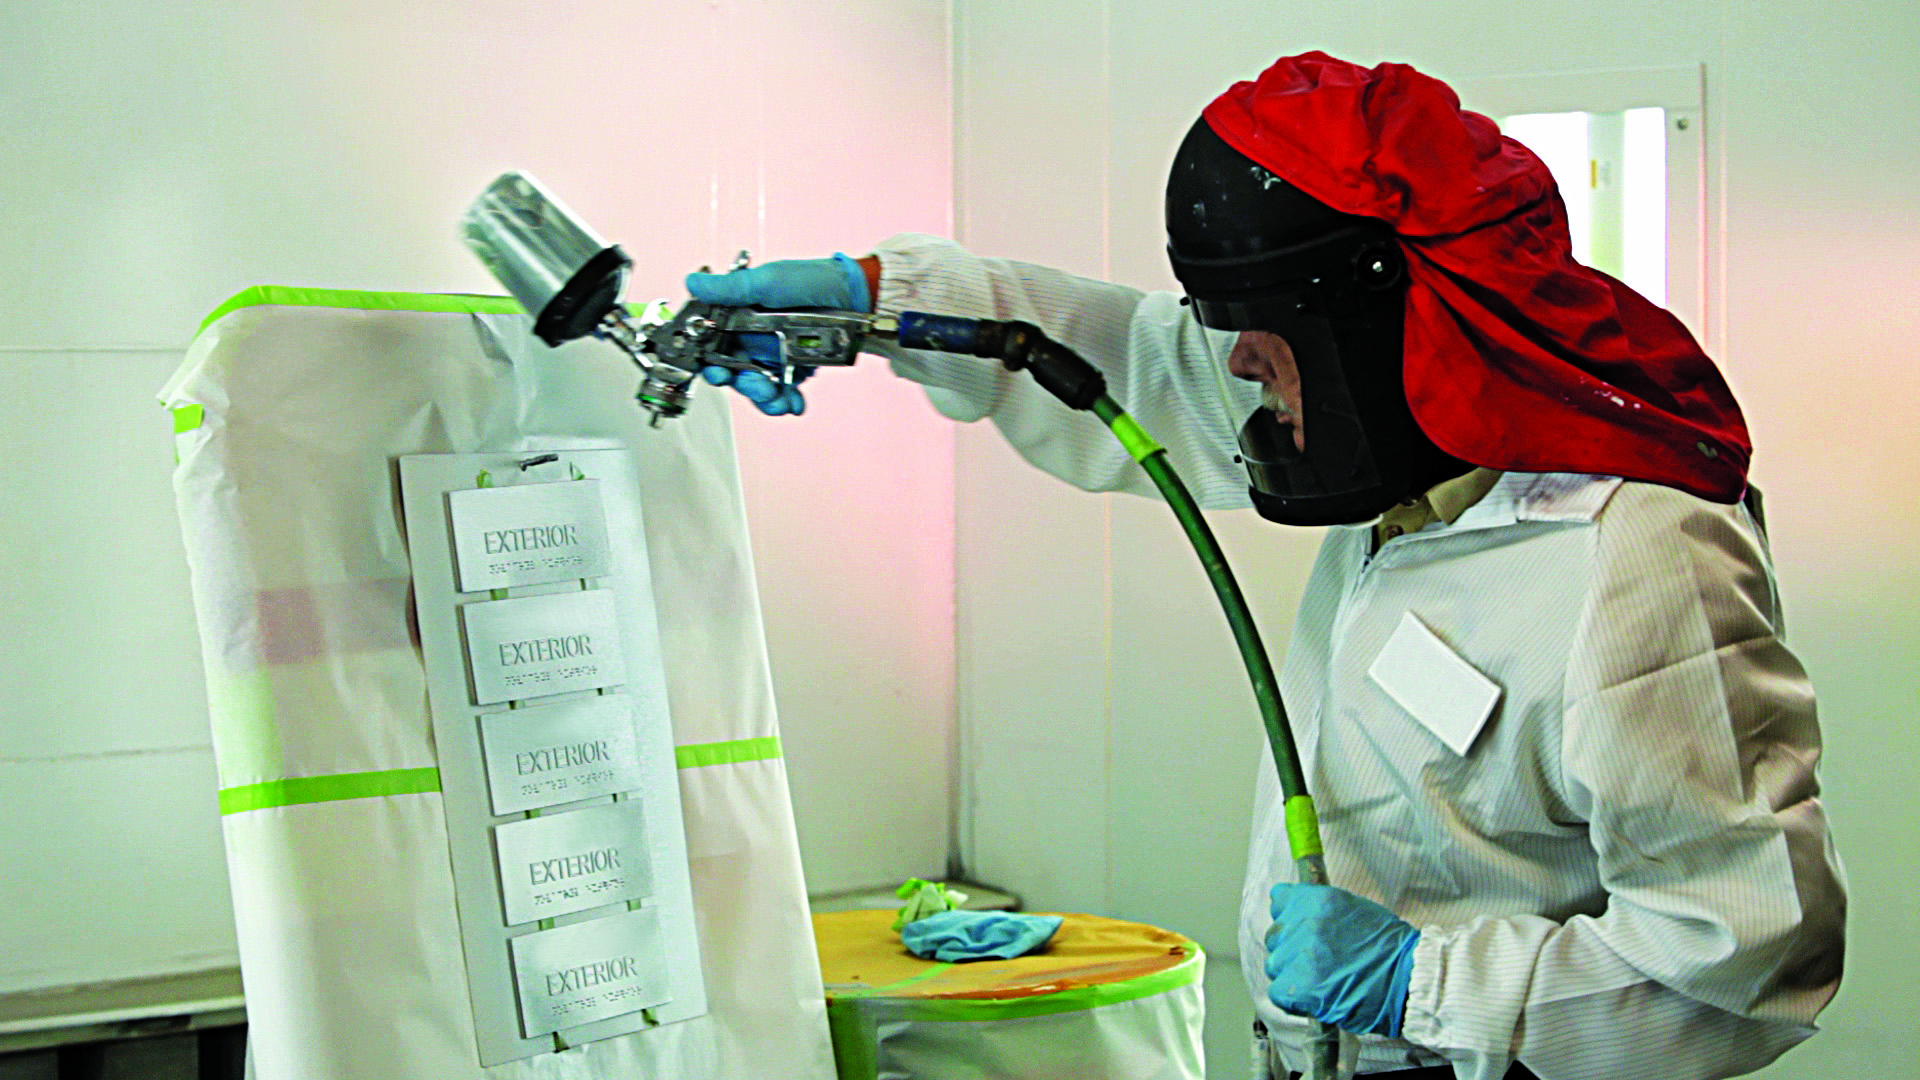
Before painting any substrate, it is imperative to use the proper safety equipment. Whoever will be painting the sign should wear safety glasses (or a full mask) and protective solvent-resistant gloves.
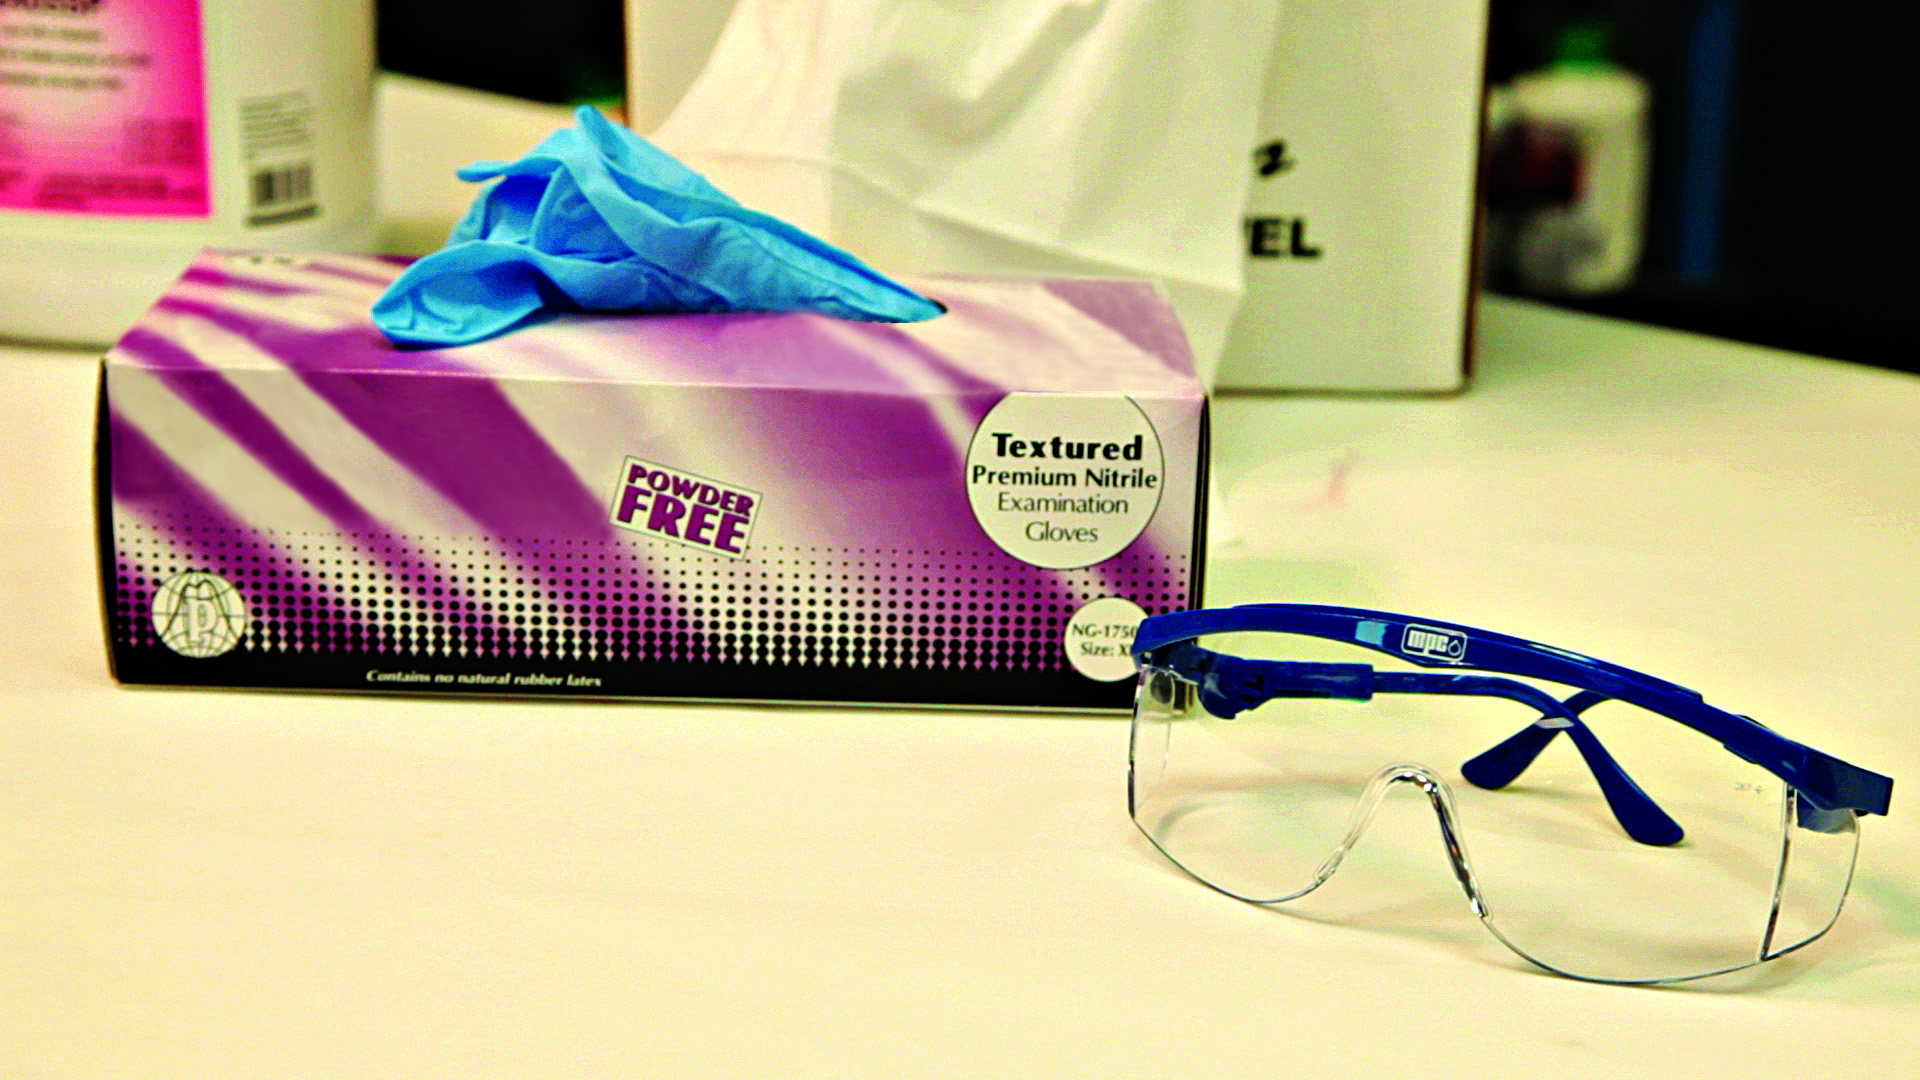
Whoever will paint the sign should wear safety glasses and protective solvent-resistant gloves.
Cleaning the substrate
To prepare the photopolymer substrate for painting, the material should first be treated with specific cleaners that are low in volatile organic compounds (VOCs) and are designed for ‘plastic prep.’ All photopolymer signs can be cleaned the same way, whether they are intended for indoor or outdoor installation.
A squirt bottle can be used to saturate the sign surface with the cleaner, followed by a short-bristle brush to clean all of the areas around the sign’s copy (i.e. text). It is important to clean out any debris that may have lodged into the copy area and blow it away.
The same process is then repeated for the sign’s ‘second surface’ (i.e. the rear side). It is also important to leave none of the cleaning fluid behind on the surface before painting. Once it has been cleared, the substrate will be ready for a topcoat.
Cleaning the sign is one of the easier steps, but it must be done thoroughly. Right before painting, for example, a tack rag should be used with a soft, gentle touch, to remove any new surface dust that may have settled after the sign panels were cleaned.
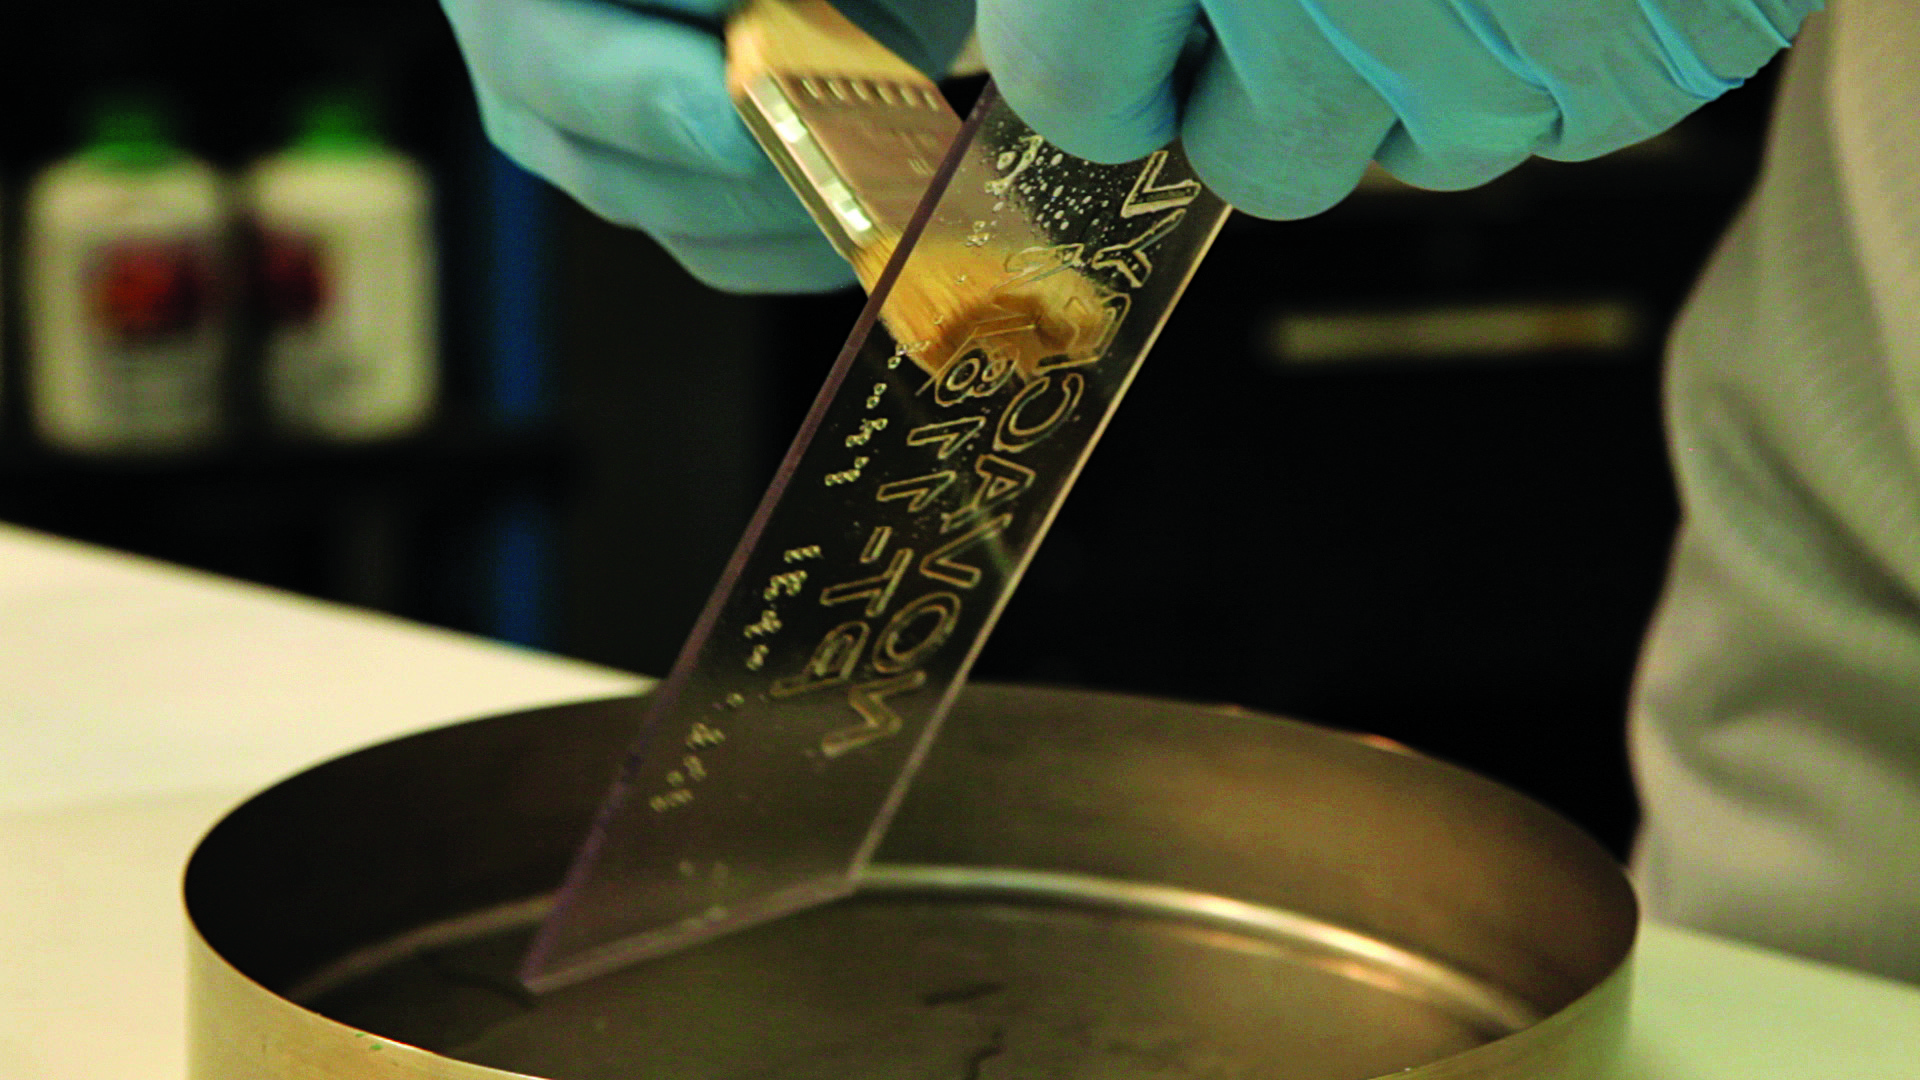
It is important to clean out any debris that may have settled in and around the sign copy.
Mixing the paint
The next step is to mix the paint correctly. It is best to check the specific mixing ratios with the paint manufacturer. In some cases, a mixing cup will indicate these ratios on the side, like measurements on a measuring cup.
The mixing process combines paint with a catalyst and reducer. The crosslinking of the catalyst to the resin system will force the paint to dry and cure, while the reducer will thin down the viscosity to help control the paint’s ability to flow over the substrate when it is eventually sprayed onto the sign in a paint booth. A typical ratio involves three parts paint, one part catalyst and one part reducer.
Once these ingredients have been poured into the same cup, they should be stirred thoroughly with a stick for about 30 to 60 seconds.


