
Using the wet film gauge
Checking whether or not paint coverage is sufficient is where the wet film gauge comes into play. With the paint gun put aside, the gauge can be used to take a film thickness reading.
The wet film gauge features edge tabs at various levels, allowing it to measure the coating’s thickness from 0.025 to 0.2 mm (1 to 8 mils). When one of the edges is placed into the wet paint, it will leave an impression in the film; and when the gauge is removed, it will indicate the film’s width. For a photopolymer accessibility sign, the user will want to see at least 0.1 mm (4 mils) of wet film, which will reduce to 0.038 to 0.05 mm (1.5 to 2 mils) when fully dry.
To more specifically determine the eventual dry film’s thickness is a question of the paint’s solid content. In the aforementioned example, if the paint is 50 per cent solid, the film will lose the other 50 per cent of its wet width, drying from 0.1 mm (4 mils) to 0.05 mm (2 mils). So, it is a simple matter of math to know how thick the wet film should be to achieve the desired dry film thickness.
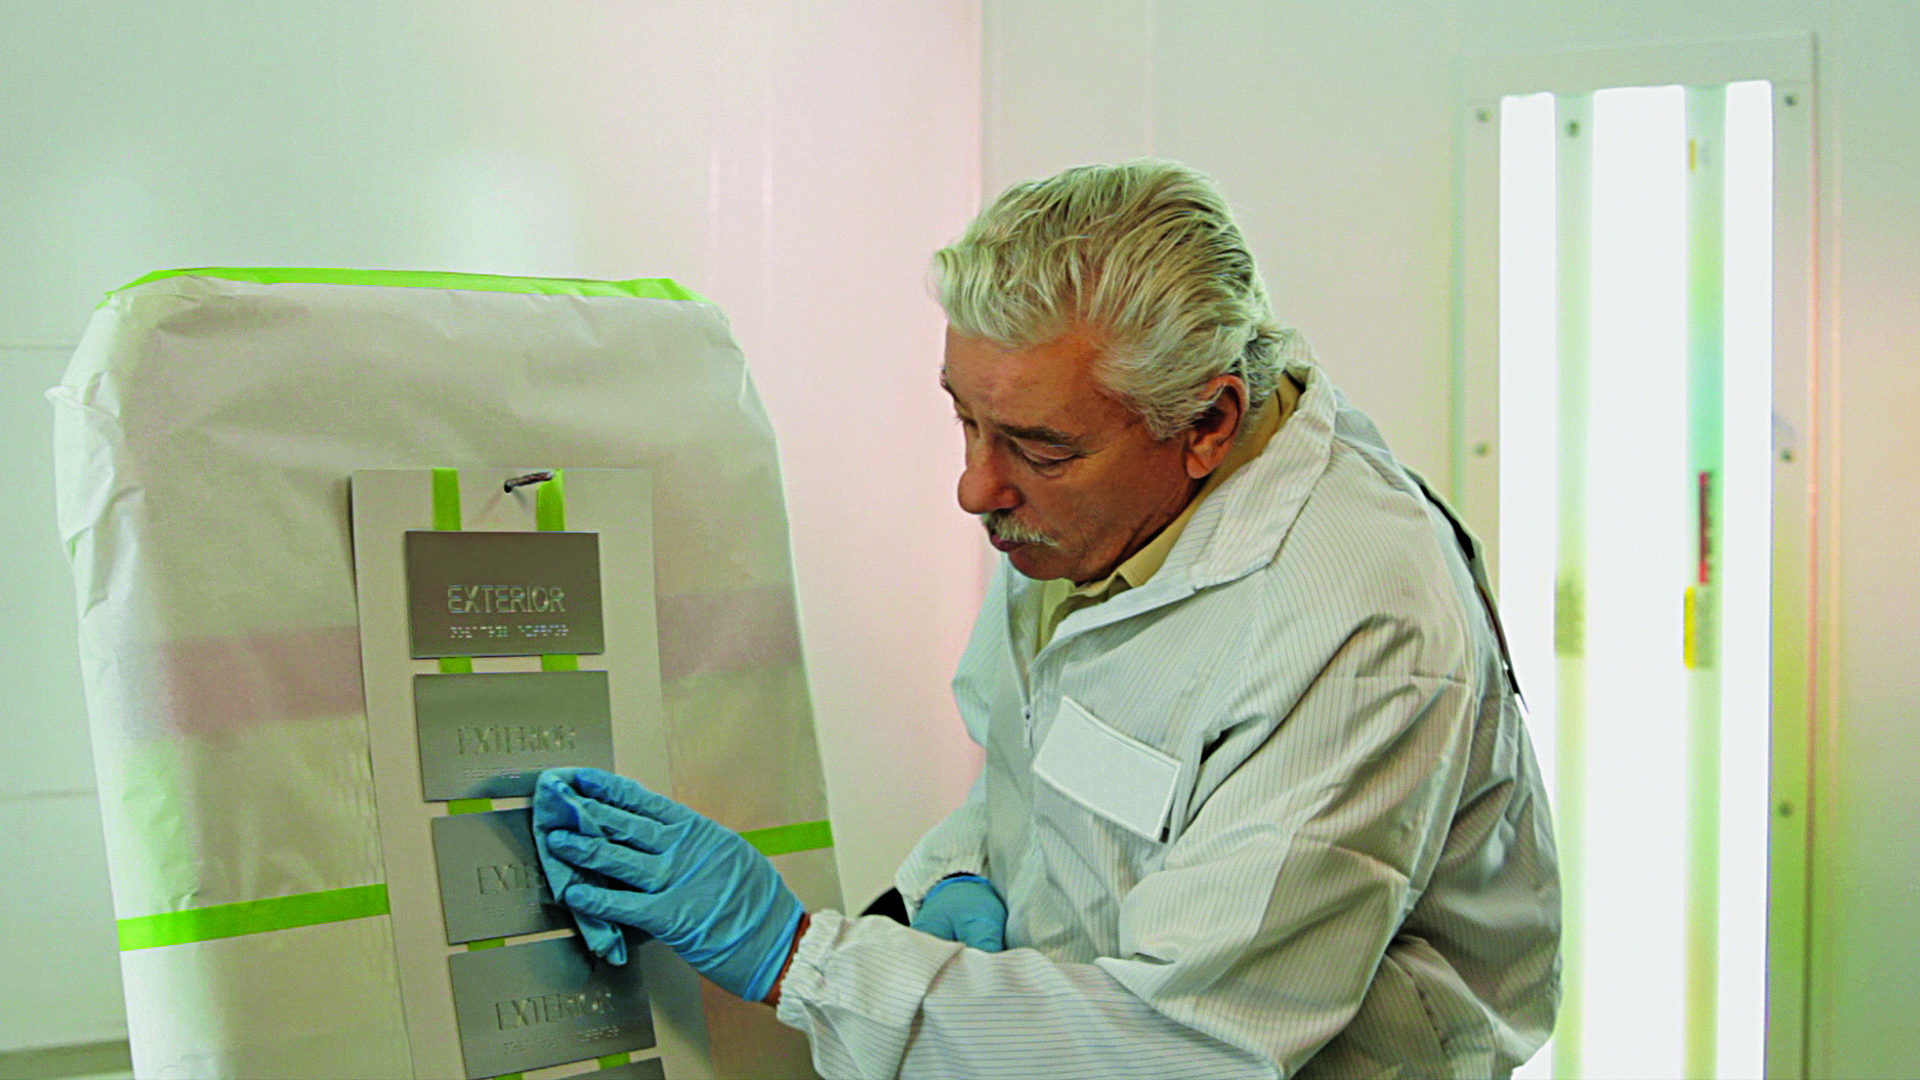
Right before painting, a tack rag applied with a soft, gentle touch will remove any new surface dust that may have settled on the sign panels.
Cleaning up
After spraying paints and checking the results, it is time to clean the equipment. One of the advantages of using a PPS is it makes it easier to clean the paint gun.
First, the gun is removed from the PPS and flushed to clean it out. When it is simply a matter of changing out the colour of the paint, the gun can be flushed quickly, but when the spray painting is finished for the day, the cleaning will need to be more thorough. The air cap and fluid needle should be carefully removed. Most spray gun manufacturers also provide a special tool to remove the fluid tip; it should never be removed using pliers or any similar tool.
When flushing out the gun, it is a good idea to brush at the same time. After the internal parts are clean, it is time to clean the removed fluid tip, air cap and fluid needle separately. There will be a lot of paint buildup on the outside of the fluid tip, but it will need to be brushed inside, too.
After these components have all been washed and brushed, the gun can be reassembled. The fluid tip should be attached first to prevent bending the needle upon installation. Using the aforementioned tool, the fluid tip should be fitted snugly, but not too tight. Then the needle can be attached with its spring and adjustment knob. Before reattaching the air cap, the user should check to make sure the gun has trigger action again. Finally, the reassembled paint gun will need to be wiped with a solvent-based cleaner.
Dave Miller is business director for Nova Polymers. With files from Matthews Paint. For more information, visit www.novapolymers.com and www.matthewspaint.com.


