POP Displays: Building graphics to last
by all | 1 November 2017 10:19 am
 [1]
[1]Photos courtesy LexJet
By Shellie Terry
Some point-of-purchase (POP) graphics are printed for brief campaigns, but others must stand the test of time in bustling retail environments. There are a variety of ways to make them last, including thermal laminates for posters, face-mounting graphics to acrylic and choosing the right vinyl or fabric for banners.
Thermal laminates
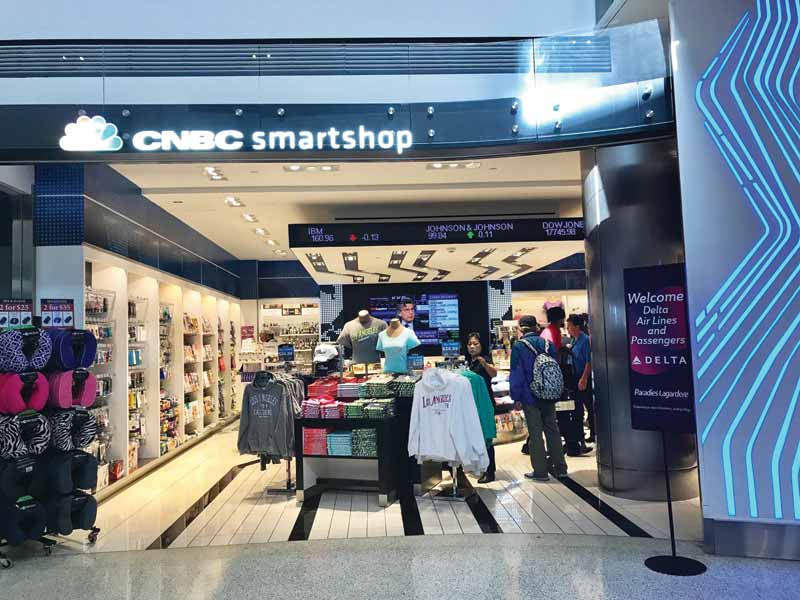
Running to catch a plane usually leaves little time to browse the retail outlets in an airport, but there are inevitably layovers and delayed flights, when passengers end up meandering through the shops, beckoned by posters that entice them with deals and specials to motivate a purchase.
Hundreds of these posters and signs are printed every month by Paradies Lagardere Travel Retail’s operations centre in Atlanta, Ga., to be displayed at stores like Brooks Brothers in airports all across Canada and the U.S. While these signs are replaced each month, they still need to look good for the full duration of a 30-day campaign.
Wade Ervin, who heads up the company’s graphics jobs, uses a 1-m (42-in.) wide HP DesignJet Z6200 photo production printer and a 0.2-mm (8-mil) thick LexJet satin photo paper. This combination produces graphics that dry instantly and can be finished without much waiting time.
For finishing, Ervin uses a 0.08-mm (3-mil) thick ClearShield gloss ultraviolet-resistant (UV-resistant) premium low-melt thermal laminate on the back of the posters and a lustre version of the same product on the front. This is common practice to provide double-sided support while saving money. The lustre version enhances the front-facing graphics’ colour with minimal glare, while the gloss version is a less expensive way to protect the back. The resulting posters typically measure 0.4 x 1 m (16 x 42 in.) and are displayed in metal frames, which makes for a fairly sturdy display.
Thermal laminates are currently available in a variety of sizes, thicknesses and finishes for a similarly wide range of applications, from posters to banners to menu boards. They work well with any microporous coated paper or polyester substrate.
Face-mounting to acrylic
Another popular technique that can achieve a clean, modern look for photos and other printed graphics is face-mounting the images to acrylic. This approach has been perfected by print service providers (PSPs) for graphics displayed not only in retail spaces, but also in commercial buildings and residential homes.
 [2]
[2]In-store coolers require dimensionally stable graphic substrates that will not expand or shrink with variable temperatures.
“The thing about acrylic face-mounting is not all papers work well with it,” says Tate Dwinnell, who runs Bumblejax with his brother Corey in Seattle, Wash., which uses an e-commerce model to produce and ship graphics both locally and internationally. “Sometimes, the texture in the paper causes ‘silvering.’”
Silvering is a common problem where air bubbles captured between the lamination adhesive and the print surface cause silver specks to appear in the graphics. To avoid this, Bumblejax uses Sunset photo metallic paper for printing and CrystalClear permanent adhesive when mounting the graphics to acrylic.
“After testing several metallic papers, we found this one offers the best luminescence and dimensionality,” Corey says. “It really makes the images pop!”
Bumblejax creates and mounts graphics ranging from 152 x 152-mm (6 x 6-in.) squares to 2.4 x 1.2-m (96 x 48-in.) panoramas. After the prints are adhered to the acrylic, which ranges in thickness from about 2.5 to 25 mm (0.1 to 1 in.), the finished artwork achieves an almost three-dimensional (3-D) backlit appearance.
“It’s a sleek, modern esthetic,” says Tate. “It’s frameless and ‘floats’ from the wall, so you don’t see any hardware.”
 [3]
[3]Paradies Lagardere Travel Retail prints hundreds of posters and signs each month for stores in airports across Canada and the U.S. They are laminated and displayed in metal frames to ensure they last well.
For typical applications, the process for this finishing technique begins with the addition of a 6.4-mm (0.25-in.) bleed to the image file before printing. Then, once the image is printed, the graphics are trimmed to the edge of that bleed on three sides and a 51-mm (2-in.) ‘leader’ is left on the other edge. A piece of adhesive is trimmed to match the size of the print and placed on top of it.
Next, a small strip of the adhesive is separated, trimmed and attached to the leader edge, secured in place with a squeegee. The print-and-adhesive combination is placed into a laminator and wiped down with a no-lint cloth or glove. As the print passes through the laminator, the adhesive is pulled back.
The acrylic is prepared by attaching a 127-mm (5-in.) wide leaderboard, at least the length of the print, with a piece of tape. The premask is removed from one side of the acrylic, also using a piece of tape. The tape is twisted to secure it to an empty tube, allowing the premask to be wrapped off the acrylic and onto the tube, using even pressure.
The acrylic is cleaned with a cloth and rubbing alcohol. It is a good idea to use a flashlight to check all particles are removed and the surface is spotless.
The print is then placed face-down on the clean acrylic, aligned with equal bleed on the three trimmed edges. The leading edge is secured to the leaderboard with tape.
The print is flipped over. A small piece of electrical tape is attached to the centre edge of the print to help gently pull off the adhesive’s second release liner. At the laminator, the electrical tape is secured to a tube to wind up the release liner. As the print-and-acrylic combination passes through the laminator, the operator can use one hand to keep tension on the tube while it winds and the other to wipe the acrylic with a lint-free cloth to keep it clean during the process.
After lamination, the acrylic is placed face-down and each bleed edge is trimmed using a sharp blade. Then the leaderboard is removed and the final edge trimmed. The acrylic’s remaining premask can be peeled away using the same technique with tape and an empty roll.
Finally, the acrylic face should be cleaned again with alcohol and a lint-free cloth before the desired hanging/mounting hardware is attached.
 [4]
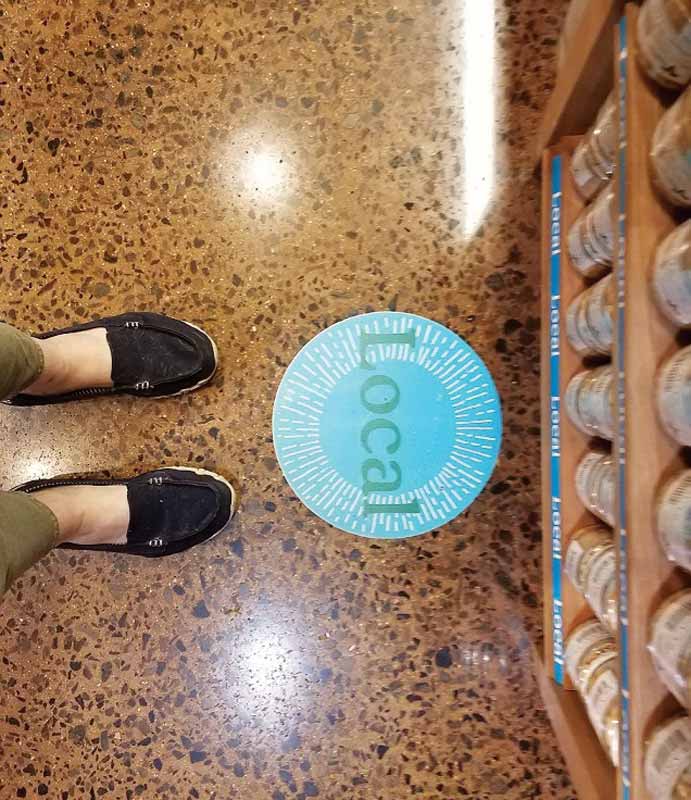
[4]Floor graphics need to endure a high volume of foot traffic and prevent slipping.
Choosing vinyl or fabric
When printing banners, vinyl has been the go-to staple in sign shops for years now. Fabric, however, has become a top trend today, with many retailers demanding it.
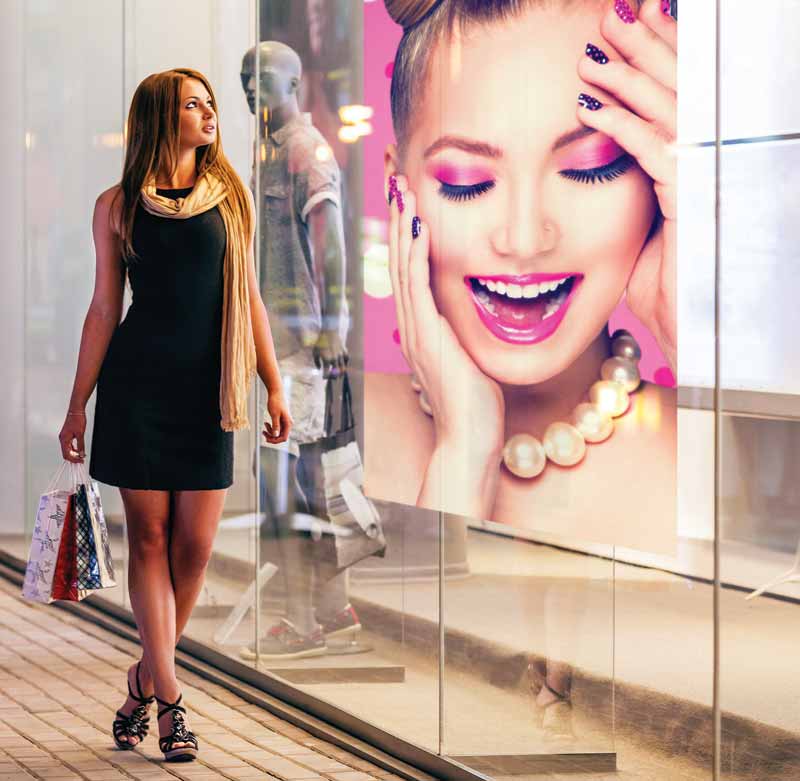
Vinyl is generally the best bet when using an aqueous inkjet printer, while fabrics work well with dye sublimation or durable aqueous ‘latex’ printing. Some upscale retailers, such as those selling jewellery, prefer fabrics for graphics that illustrate intricate details for customers standing up close to them. Vinyl is a less expensive option in most cases and a top choice for temporary or one-time uses.
Two vinyl banners can be sewn or heat-pressed together to create an opaque double-sided application. Fabrics can be sewn for the same effect, but will typically need a hem to prevent fraying.
Another factor to consider is ease of installation. In many cases, POP graphics are displayed in-store not by an experienced installer, but by a local sales clerk.
Jewellery vendor Allison-Kaufman, by way of example, has wrapped its display cases with pressure-sensitive vinyl featuring Art Deco graphics, which were easily removed later. Grocery retailer Whole Foods, meanwhile, has decorated its in-store coolers and other fixtures with a ‘print-and-stick’ fabric that is dimensionally stable, preventing it from expanding or shrinking with variable temperatures, and easy to install with a squeegee and even pressure for crease-free adhesion. And if an employee makes a mistake, the material can be removed and repositioned several times.
Many large stores use hanging banners to display messages overhead. When a typical scrim vinyl does not offer the desired ambience, a lightweight polyester fabric can deliver bright colours and an elegant draping effect, with crease and wrinkle resistance making it another forgiving option during installation.
Whole Foods has also cleverly used window-cling vinyl for floor graphics. Even when enduring a high volume of foot traffic and with the need to prevent slipping, some of these materials will last up to eight weeks without lamination. Print-and-stick fabrics are also a viable option, easily removed afterwards without leaving any residue behind.
Speaking of windows, by using backlit vinyl, retailers can face-mount window graphics on the inside surface, protecting them while still ensuring strong visibility from outside.
Other aspects to look for in display films for POP applications with durability in mind include scratch, curl and water resistance.
Shellie Terry is content strategist for S-One Holdings, the corporate parent of LexJet, which manufactures and distributes materials and equipment for wide-format inkjet printing. For more information, contact her via e-mail at shellie.terry@sone.com[5].
- [Image]: https://www.signmedia.ca/wp-content/uploads/2017/10/Simple-Grip.jpg
- [Image]: https://www.signmedia.ca/wp-content/uploads/2017/10/Coors-Light-Wall-Mural-by-Tennyson-Lacasio.jpg
- [Image]: https://www.signmedia.ca/wp-content/uploads/2017/10/welcome.jpg
- [Image]: https://www.signmedia.ca/wp-content/uploads/2017/10/floor-graphic1.jpg
- shellie.terry@sone.com: mailto:shellie.terry@sone.com
Source URL: https://www.signmedia.ca/pop-displays-building-graphics-last/