
The 140 x 140-mm (5.5 x 5.5-in.) treated posts need pre-drilled holes to accept the threaded rods, nuts and washers. The posts can also be detailed with fluting (i.e. ornamental grooves), chamfering (i.e. bevelling edges) and roundovers (i.e. softening sharp edges). Since they are treated, they will not accept paint, so they should instead be stained twice with solid colours.
After the brackets are attached to both the panel and the posts, the result is a ‘floating’ substrate, since the panel is not in direct contact with the posts. There should be about 51 mm (2 in.) between each edge of the panel and each post. This no-contact arrangement is beneficial in preventing problems associated with weathering.

The floating concept for panels is also helpful when working on them in the shop and transporting them to the installation site. Whether a panel is one- or two-sided, it is a good idea to attach two or more custom-made steel ‘handles’ to each end-grain on the substrate when the panel is in production. This practice allows them to be flipped and transported without fear of damage to the surface or to any protruding appliqués.
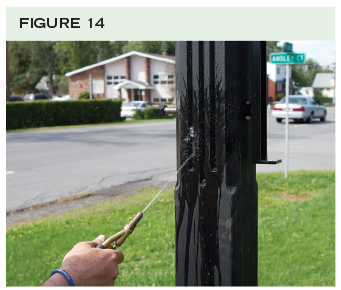
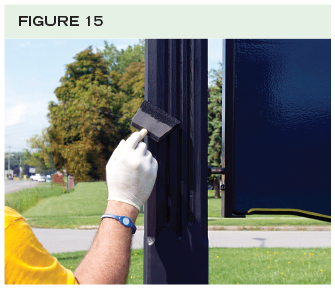
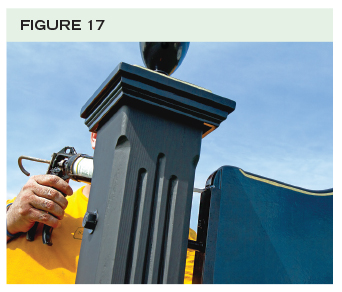
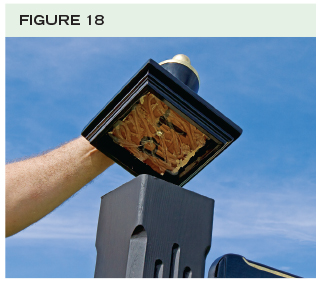
Sign posts will inevitably get dusty during the installation process, so after they are affixed and in the ground, they should be cleaned with water (Figure 14) and given another coat of stain to keep them looking freshened up (Figure 15). The final steps will include some paint touch-ups on the hardware (Figure 16), a little silicone on the bracket tops (Figure 17), affixing the finials (i.e. ornamental finishing) and caps (Figure 18) and the addition of the sign shop’s nameplate. The installation is then complete (Figure 19).

Francis S. Lestingi owns and manages Signs of Gold, specializing in hand-carved, gilded wooden signs. For more information, visit www.signsofgold.com.


Some people have interest in doing wooden work at home by their own. Table saw is the best thing for them. Through this, people can do small work on their own.
Sharp Reviews