
Tips and tricks for graphics to bricks
By Gareth Newman
Graphics can be an incredibly powerful tool in any situation. Be it transforming the look of an office interior, decorating the outside of a building, or even changing the appearance of pavements and flooring, graphics can be used in a whole host of weird and wonderful ways.
In my role as academy manager at Drytac, I am involved in the research and development of new media, including print testing, print trials, media profiling, application testing, and reviews. I also help to train our customers on best practices and application techniques, while using our media either at the Drytac Academy in Bristol in the U.K., or at the customer’s site doing live training.
In recent years, we have witnessed a sharp increase in demand for both training and materials in relation to applying graphics
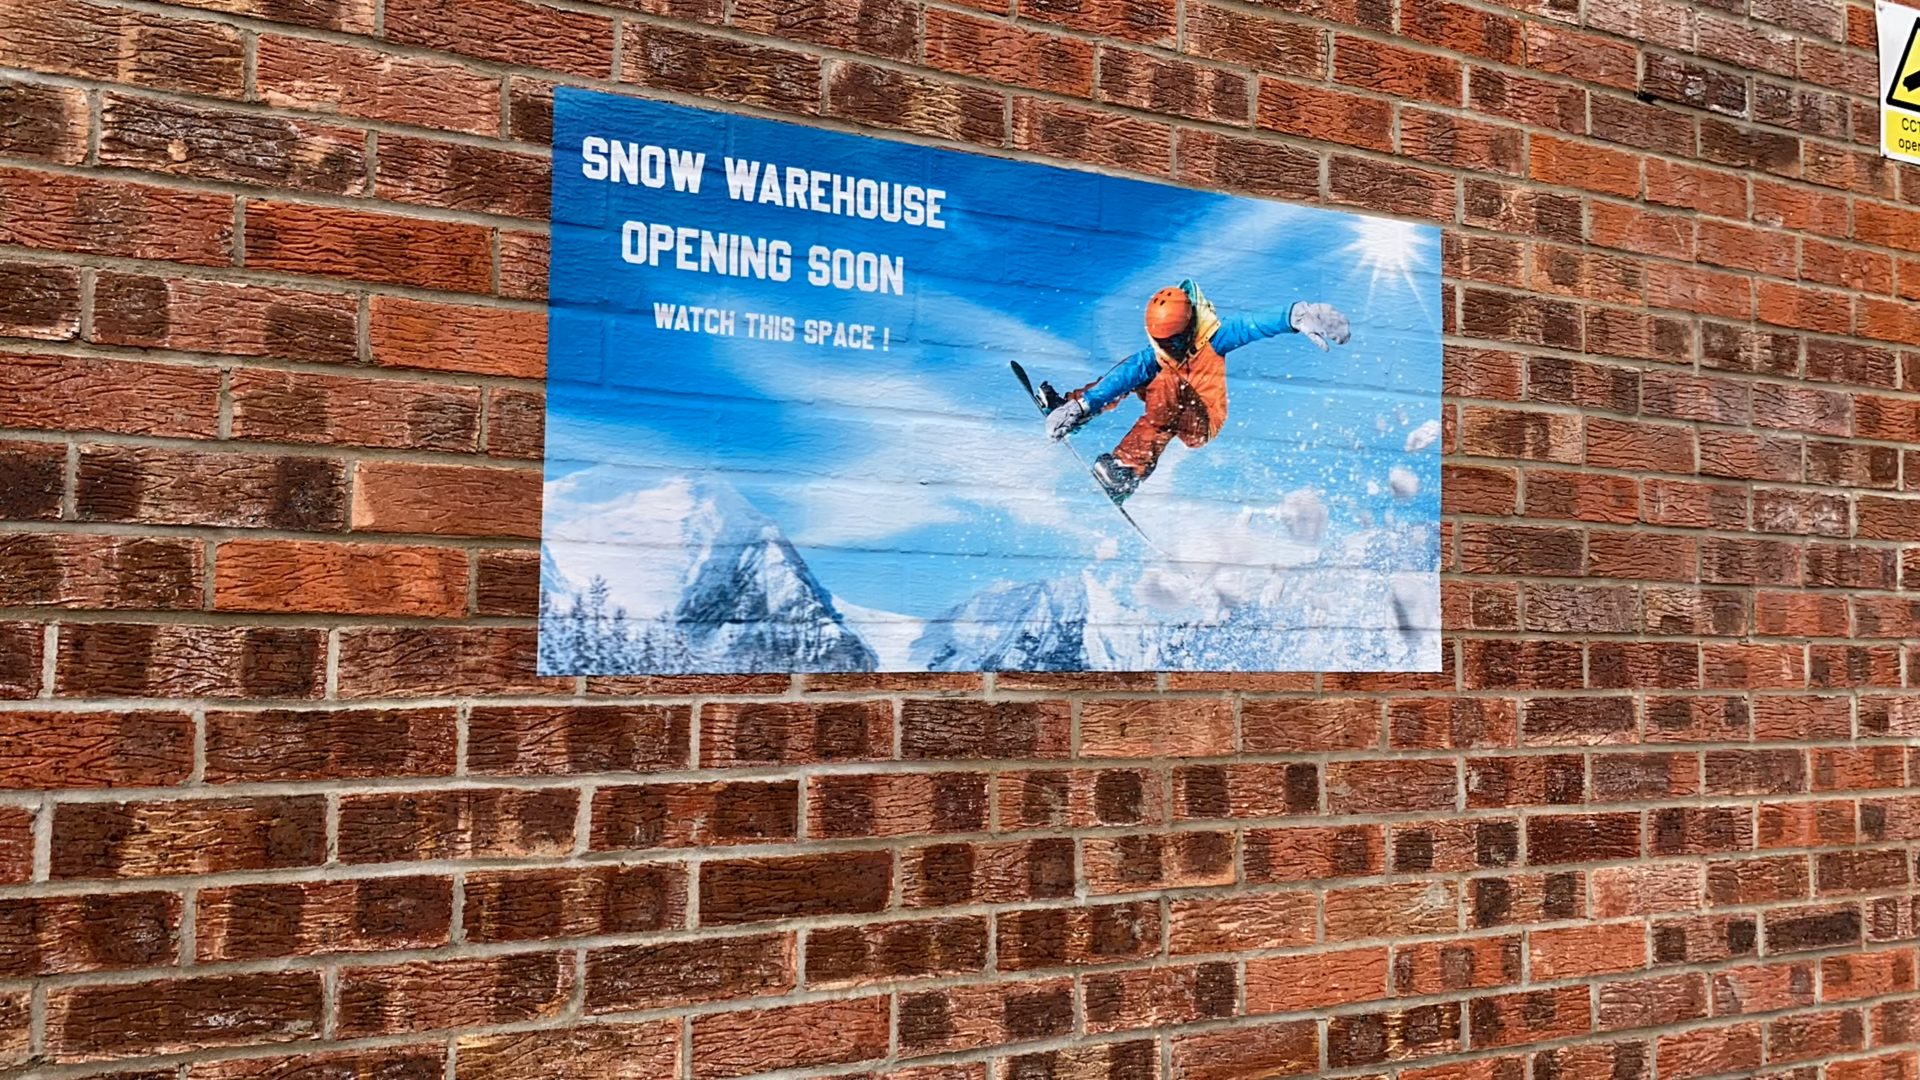
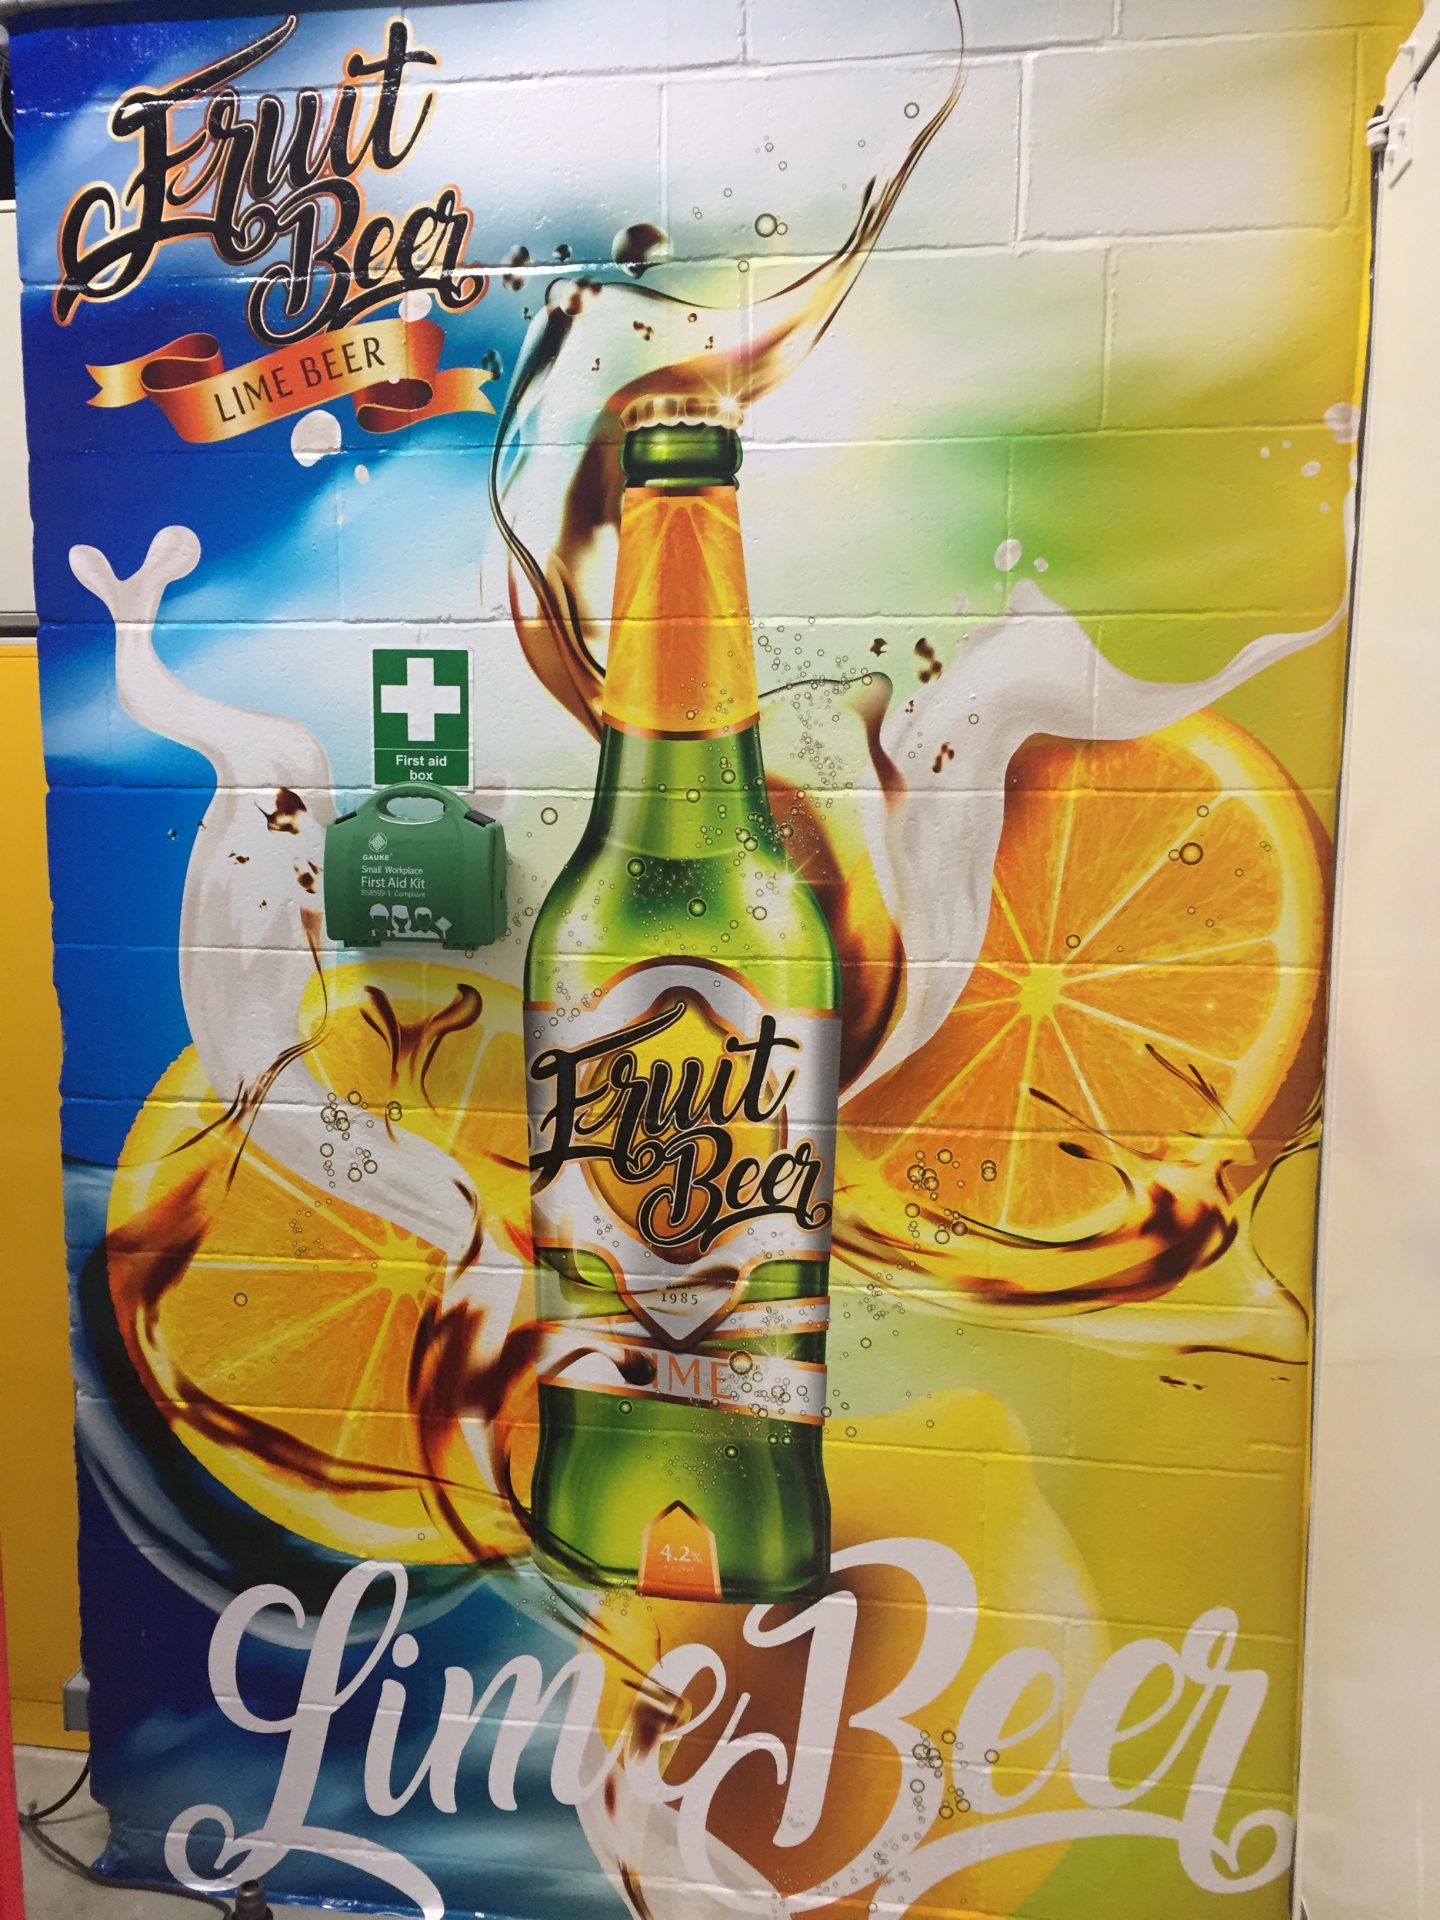
to brick. You can turn a plain wall into an eye-catching art piece or advert on what would otherwise be a boring and possibly unsightly area.
While it is true that graphics can completely overhaul the look of brickwork, it is not always necessary to fight what is already there, or to ignore the natural finish of the surface. Instead, applying a mural or decal to bare bricks or concrete can really complement an industrial space or heritage property.
This is certainly true of one of the best wall-wraps I have seen, which was at the Principality Stadium in Wales. Heineken was the sponsor for a series of rugby games and fully wrapped the underground bowl walk area underneath the stadium. This section was usually enclosed by boring grey concrete breezeblock walls, but was transformed to feature Heineken’s famous green bottles pouring out beer.
Aside from changing the look of the wall, these sorts of jobs can play a major role in helping to protect the surface. By applying a wrap to the surface, the material will protect the brickwork and slow down the degradation of the bricks prematurely, meaning the surface will retain its quality and original look for much longer.
Setting yourself up for success
Brick applications promise and offer so much. However, before getting started on any sort of application in this area, it is important to consider the steps you need to take to ensure the job is a success.
Preparation is key. First, use a stiff brush to remove dust and dirt and, if necessary, also use a de-greasing cleaner and leave it to dry for 48 hours. Next, choose the right graphics media; a product that can conform to the rough or uneven surfaces is critical, while high tack adhesive and long-term indoor/outdoor durability is also ideal for the application at hand.
As there is such a wide range of graphics media available on the market, it is important to conduct a small-scale test on-site two to three days before the project to ensure the best adhesion and desired results. Without this, there is a risk of the material failing and ruining the job.
Before installing graphics on brickwork and mortar, ensure the design is suitable for the application and be doubly sure the right media and the right tools are used. When it comes
to tools, there are vital pieces that should be part of the kit: A heat gun is certainly needed, as well as a squeegee, and 3D texture applicators, which will save time and make the graphics stunning.
Apply the graphics with a squeegee first to get the initial tack, then use the heat gun, working in one direction—left to right or right to left—to push the air out and avoid creating air bubbles.
Work brick by brick, then move to the mortar joins, thinking about where the air is going and may get trapped. Depending on how deep the mortar is, the graphics might shrink and not fit the desired location correctly, so be aware of this at the design stage.
This process of post heating is incredibly important; making sure the media has received the correct temperatures evenly across the entire applications will help to ensure it does not shrink under temperature changes when the media has been applied. This, in turn, means the graphics will remain in place for the desired amount of time and look fresh for the duration of their application.
Sign up for our newsletter
Featuring breaking news from Canada's sign and graphics industry.
Products


Read the Latest Issue
