
Surface preparation
One of the first steps that can significantly affect the quality of a wrap job, as Mactac’s Stadelman points out, is vehicle surface preparation.
“Even if a surface doesn’t look dirty or wet, cleaning is necessary,” he says. “Always read the directions for the specific vinyl being applied.”
Basic surface preparation begins with a soft, lint-free cloth and a solution of detergent and water to remove organic contaminants, such as dirt or dead insects. Next, with proper ventilation and personal protective equipment (PPE), a solvent-based cleaner should be used to remove petrochemical contaminants, such as grease, waxes or oils. Finally, the vehicle should be wiped down with water-diluted isopropyl alcohol (IPA) and allowed to dry.
Tools for the job
Basic installation tools include squeegees for applying films, a razor knife for trimming panels, a bubble releaser, scissors, masking tape and a heat gun.
“Other options to consider are a small pry bar to remove adhesive emblems, magnets to hold graphics in place while you test-fit them for design integrity, a grease pencil for creating hash marks to help with positioning and a propane torch for faster application,” says Stadelman.
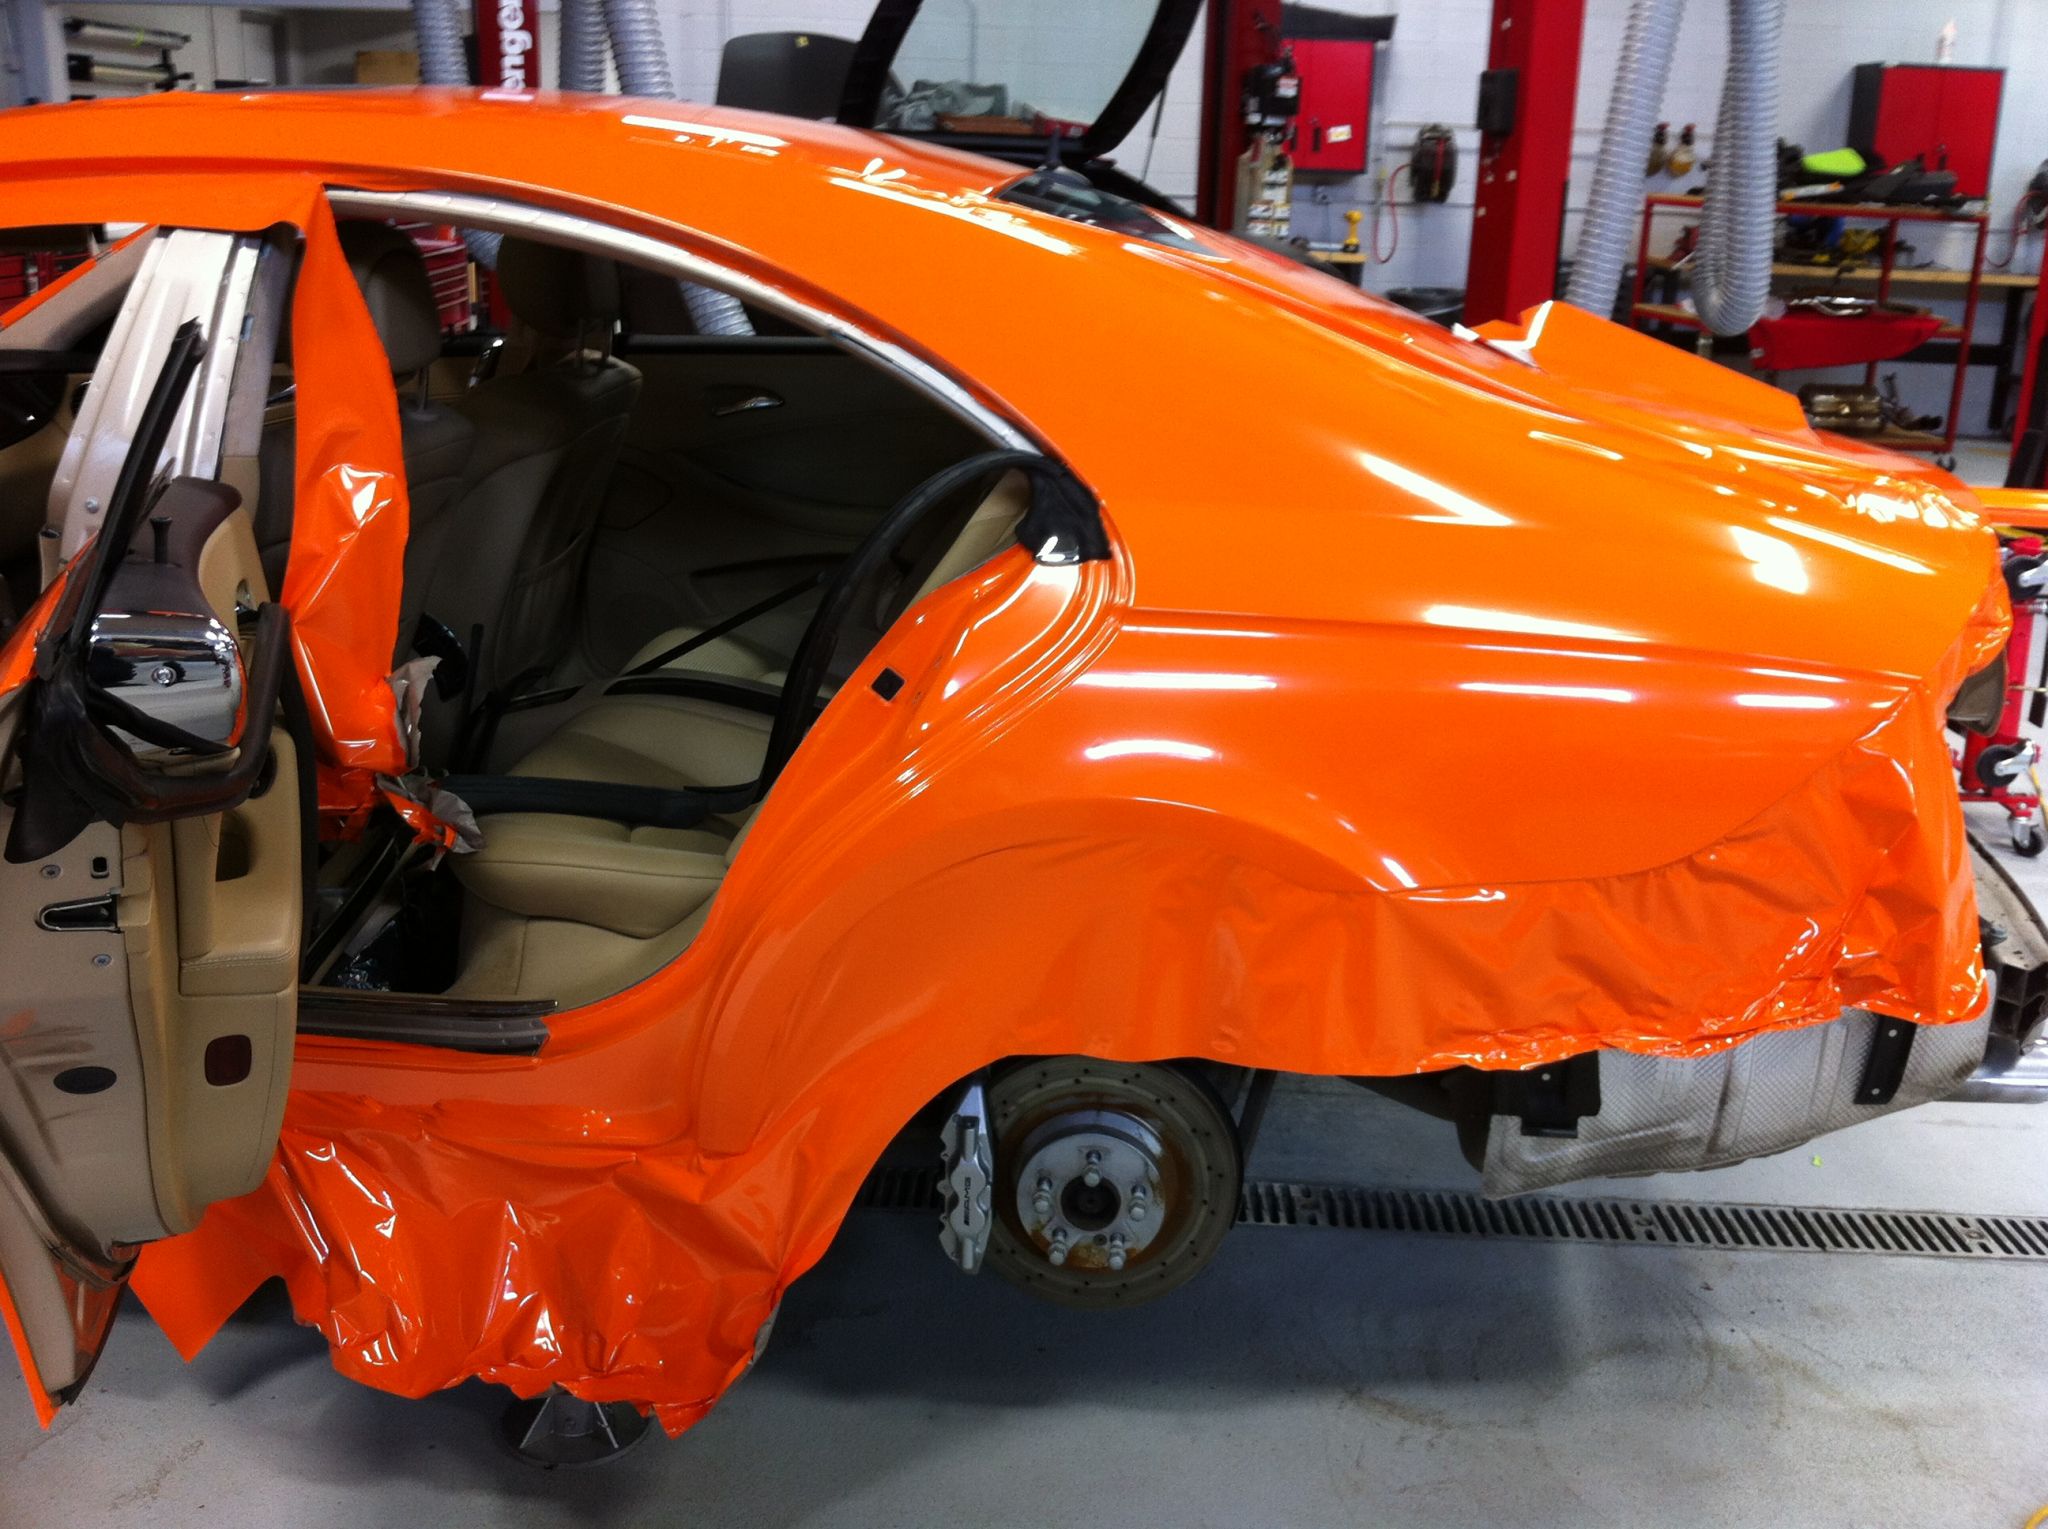
Some installers will take a car apart, so they can wrap each component individually.
Similar to printing, the wrap should take place in a controlled environment. Appropriate temperatures range from 16 to 27 C (60 to 80 F). And while there is no need to take the vehicle apart as some colour-change specialists do, easily removable components like wipers, antennas, licence plates, washer nozzles, side mirrors and lights should be set aside.
Techniques
Stadelman recommends starting at the back of the vehicle and working forward, as any overlaps should face the back, to minimize the chance of damage from rain hitting the vehicle from the front when it is driven. The tape or magnets can hold graphics in place while working on each section.
“You can apply a strip of tape across the middle of the graphic to create a hinge,” says Stadelman. “Next, bend half the graphic back, exposing the underside, and pull the liner off that half. Once the adhesive is uncovered, apply the sticky half using a squeegee. Then remove the hinge and repeat for the other half. Use the heat gun only when needed to stretch the film in complex areas or to recondition it if it gets stretched out of shape.”
Heating becomes important again after the graphics have been applied.
“Post-heat all edges, seams, channels and stretches at 104 C (220 F),” Stadelman says. “This is necessary to reset the ‘memory’ of the media to its new shape.”
Cleaning and maintenance
Once a wrap has been installed, the adhesives will need time to cure completely before any cleaning. Avery Dennison’s Waters recommends waiting for two days, while Mactac’s Stadelman suggests at least three days before hand-washing and a week before machine- or pressure-washing.
Hand-washing is the preferred method, avoiding unnecessary abrasion through scrubbing. Soft cloths, mild detergents with a pH value between three and 11 and non-abrasive cleaners are recommended, with no strong solvents or alcohols. To keep the wrap looking its best, Waters recommends cleaning it at least once a month.
“When people take care of wraps, they’ll last longer,” she says. “If dust were to collect over time and then get hot in the sun, for example, it could burn right into the wrap.”
A polish or wax will also help extend a wrap’s useful life, so long as the wax does not contain petroleum distillates. Matte-texture films should never be waxed, though, as the wax will cause unwanted shiny spots.
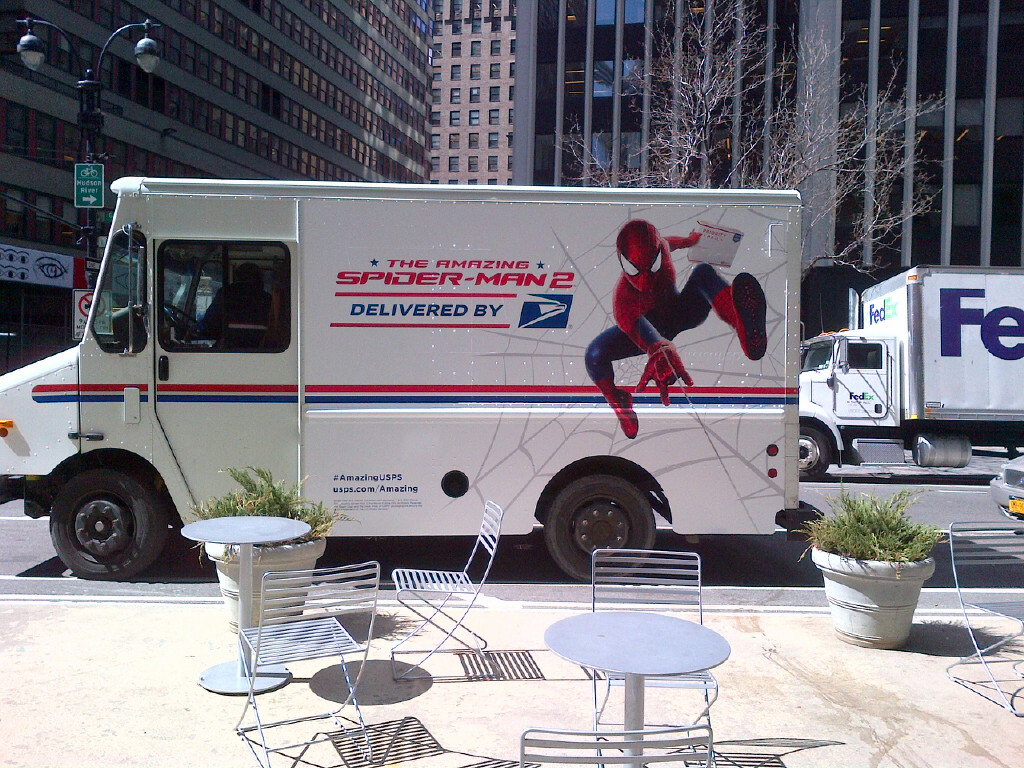
A USPS marketing campaign for The Amazing Spider-Man 2 involved installing graphics on more than 200 vehicles per week, at 35 locations. Photo courtesy SPE
Practice makes perfect
With all of these stages in mind, vehicle graphics may seem overly complicated, but many sign shops have found success in this market, by taking a careful approach and testing new products and techniques as they arise before implementing them in actual jobs.
“As with anything, practice makes perfect,” says Stadelman. “Always measure twice to avoid mistakes. Graphic applications take a while to master and vehicle wraps are not typically quick jobs. Ensure you allow yourself enough time.”
Many training courses are available to the industry. 3M offers classes in conjunction with Mimaki, a printer manufacturer, that address vehicle wrap application and removal, while Avery Dennison partners with another printer manufacturer, Mutoh America, and resellers like Proveer to organize classes and workshops taught by renowned wrap installer Justin Pate.
“I use the techniques and tricks I learned from Justin every day,” says Sean Tomlin, owner of Designer Wraps. “He showed us specific tips, like trimming corners properly, to improve the quality of our installations.”
“You need to pay attention to quality to get repeat business in this field,” says Avery Dennison’s Roba. “You can use tools like classes and videos to get better.”
With files from Roland DGA, Mactac, Avery Dennison Graphics Solutions and 3M Commercial Graphics. For more information, visit www.rolanddga.com, www.mactac.com, www.averygraphics.com and www.3mgraphics.com.


