
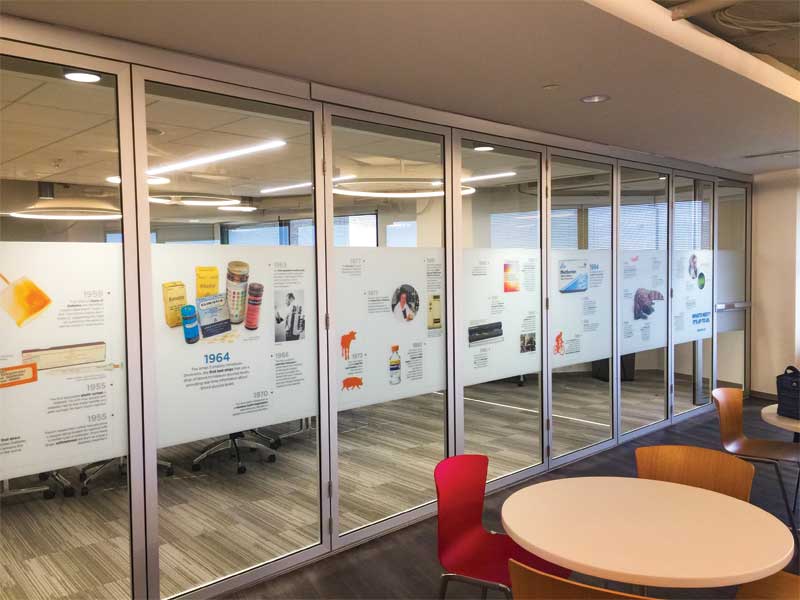
Wall and window graphics are often used to communicate a company or organization’s history and story.
Since many rebranding projects are intended for permanent, long-term application, one example of an ideal wall graphic media for smooth wall surfaces would be a high-bond, multi-print film material that features a high opacity adhesive with high initial tack and lasting strength and performance. An overlaminate may also be recommended, such as an intermediate, blended polymeric calendared vinyl with ultraviolet (UV), chemical, and other inhibitors that deliver added protection to printed graphic images. As permanent media is designed to ‘go up and stay up,’ applicators should keep in mind these graphics are more difficult to reposition after being placed on a surface.
Meanwhile, if the application area features a rough wall surface like brick, a durable cast film with an aggressive high-tack adhesive is often a better choice. These films can withstand high application heat and are known for their ability to quickly conform over uneven textured surfaces without tearing or lifting.
Printed graphics must be properly cured or dried before they are applied. Additionally, if the surface is newly painted, installers should allow two weeks for it to fully cure.
When sizing these graphics prior to application, measurements and straight edges should be taken from the ceiling, as this is generally the most level surface in a room.
Installation
Before applying adhesive wall graphics, the surface should be cleaned. For smooth walls, the use of a cleaner followed by isopropyl alcohol is adequate. Graphics can be applied using the ‘hinge method,’ which allows for proper graphic alignment and also prevents graphic movement. Installers should use firm pressure and overlapping strokes and allow a 25-mm (1-in.) overlap between seams. After trimming the material, it is recommended installers go back over the graphic’s edges to ensure a good bond to the wall.
For rough or textured walls, installers should wipe away loose dirt, dust, and/or debris with a stiff brush rather than a cleaner. The wall should be dry and the environment should be at least 10 C (50 F). Like smooth walls, the hinge method is recommended. The installer should use a soft squeegee and make overlapping strokes in each direction, working in sections of 102 to 203 mm (4 to 8 in.) all the way down the graphic until the entire panel is installed. To get the film to conform to the rough surface, a heat gun and semi-rigid roller are also required.
Window graphic applications
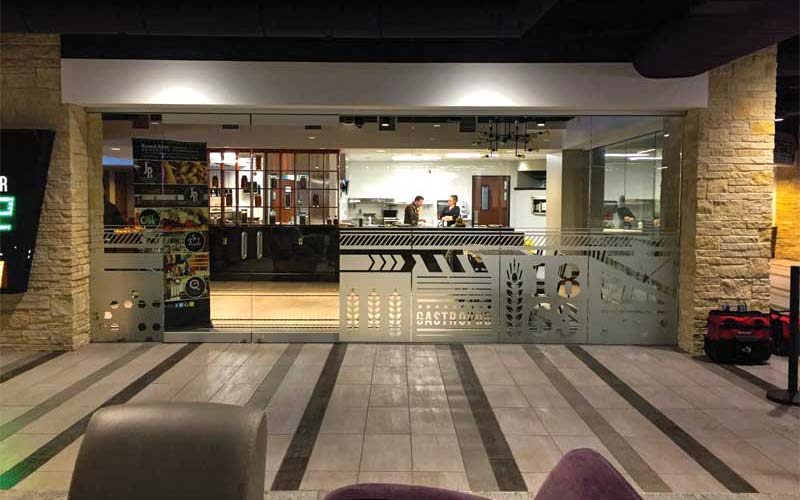
Windows offer a unique transparent way to display brand messaging via highly versatile graphics. These adhesives can be used in both temporary and long-term applications in a variety of shapes and sizes, including small decals, cut vinyl lettering, and large window coverings. Additionally, these can be combined with other elements to add dimensional effects and esthetic appeal.
When selecting a window film for a rebranding project, PSPs should address the following questions with the client:
- What is the intended length of application?
- What is the application environment (i.e. indoors/outdoors, high/low traffic area, potential level of UV exposure, etc.)?
- Is the graphic intended to cut glare and/or add privacy?
- What finish is desired (i.e. frosted, dusted, clear)?
- Does the application require a printable or plotter-cut graphic?
- Will the graphic be installed via wet or dry application?
Frosted window decals can add privacy in addition to visual interest.
Like wall graphic applications, a PSP and graphics material manufacturer should work closely with the brand manager to answer these questions and determine the best material for the specific application. Many companies opt for a combination of printable and plotter-cut window graphics for rebranding projects. Plotter-cut graphics generally feature shapes and letters, whereas printed graphics can be used to display creative imagery for larger full coverage applications.
Some recent window graphics feature innovative and unique air-egress films, which have channels built into the adhesive that allow air to escape during installation, resulting in a faster, simpler application. Air-egress window films also feature specially formulated liners, which allow the films to be printed for better esthetic décor effects and privacy screening. However, due to the adhesive’s unique chemistry, air-egress films are not designed for plotter cutting.
Plotter-cut films feature a traditional solid coating of adhesive, which is ideal for making small cuts, weaves, and other plotter details. In addition to filtering UV light, these films look the same on both sides of glass. These applications are useful for unprinted window privacy screening and translucent cut vinyl applications.
Installation
With window graphics, the application method plays a significant role when deciding what material to use. Some films, like air-egress, are designed to be installed using dry application, while others call for wet application.
Wet application is more complex than dry. First, the installer sprays the window with a fluid comprised of four drops of baby shampoo and 473 ml (16 oz) water. As the liner is pulled back and removed, the exposed adhesive is sprayed to cut down on static, which can attract unwanted dust and dirt. The graphic is then ‘floated’ onto the wet window and slid into position. The film’s surface is sprayed with application fluid and then a squeegee is used to firmly apply the graphic. After 30 minutes, the squeegee is again used on the corners of the graphic. Finally, finished applications are cleaned with lint-free cloths using a blend of 70 per cent isopropyl alcohol and 30 per cent water.
Dry window graphic application cuts the installation time by about two-thirds and offers significantly less clean up, as it does not require application fluid. These graphics are typically applied using the hinge method, with the installer using light, steady pressure and removing the liner in small sections as the graphic is applied.
For both wet and dry methods, window graphics should be trimmed 3.2 mm (0.125 in.) from any rubber seals running along the edge of the window.
Infinite opportunity
As an increasing number of business owners search for new and innovative strategies to freshen their brand, it is important PSPs and graphics material manufacturers understand the benefits that accompany wall and window graphics. These adhesives are an effective way to successfully and economically tell a brand’s story, showcase its image, and create a positive experience with current and potential customers.
Jeff Stadelman is a marketing manager for Mactac Distributor Products, which manufactures and distributes pressure-sensitive adhesive (PSA) materials for label printing, graphic design, packaging, retail display, and more. He has been with the company for 29 years and has spent most of his career in its commercial area, which produces wide-format digital media, overlaminates, mounting and marking films, screen printable media, and other pressure-sensitive vinyl solutions for the graphics industry. Stadelman can be reached by e-mail via Brittany Eppley at breppley@mactac.com.


