
Measuring the space
As mentioned, the dimensions of the space will affect the image. This is especially true in terms of file and print resolution.
Even when the client supplies such information, it is a good idea to conduct a site survey in person to get a sense of the space and to be aware of any installation obstacles. It is not sufficient to simply measure the height and width of the wall. Even in newly constructed buildings, the intersections between walls and ceilings may not be level, for example, and if any dimensions are ‘off’ by much, it will be important to compensate for those irregularities in the mural.
If the mural is to be installed flush to the edges of the wall, then the printed graphic should be slightly larger than the wall by about 13 mm (0.5 in.) to create a ‘bleed.’ Extra attention will need to be paid in the initial stages of installation.
If the mural will not be flush, it is still important to determine if the edge dimensions are level. If not, the potential challenge is an uneven border in cases where the top edge of the mural is level but the intersection of the wall and ceiling is not.
Lighting needs to be taken into consideration. Fabrics, for example, will reflect less glare than shinier vinyl-based materials.
In other words, PSPs should never take for granted the dimensions of a room will be perfect for a series of rectangular graphic panels. The easiest and safest policy is to use a carpenter’s level to create an absolute and square starting point for the first panel in the upper left corner, then use it as a reference point for subsequent panels.
Determining image resolution
Enlarging photos to the scale of a wall mural tends to go beyond the scope of many PSPs’ everyday work. While raster image processors (RIPs) and design software can do wonders in scaling up photos, it is essential those photos are already at high enough resolution to produce a clear image when printed at their final size.
One rule of thumb suggests a wall mural image file needs 1.5 MB per square foot, but this is not a hard and fast guideline. Better to ensure the image resolution is a minimum of 100 dots-per-inch (dpi) when enlarged to its final size, while 200 dpi is optimal for fine art reproduction and closer viewing.
Nature scenes, textures and abstract artwork are generally more visually acceptable at lower resolutions, while human faces, logos and photos tend to require sharper detail.
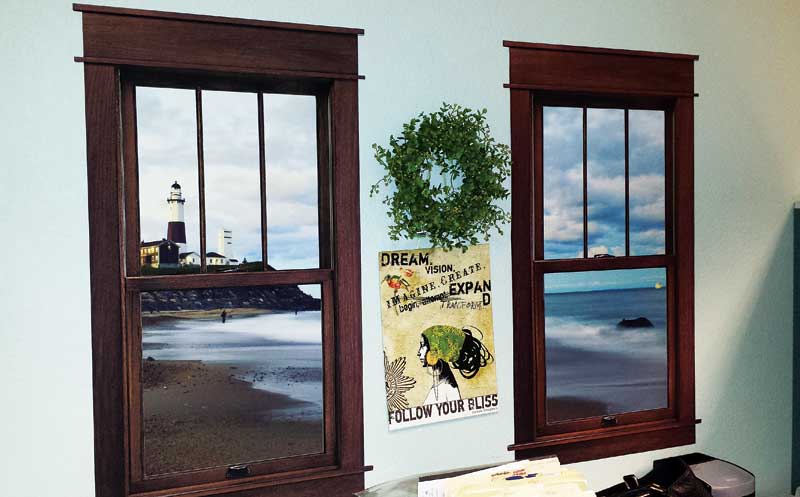
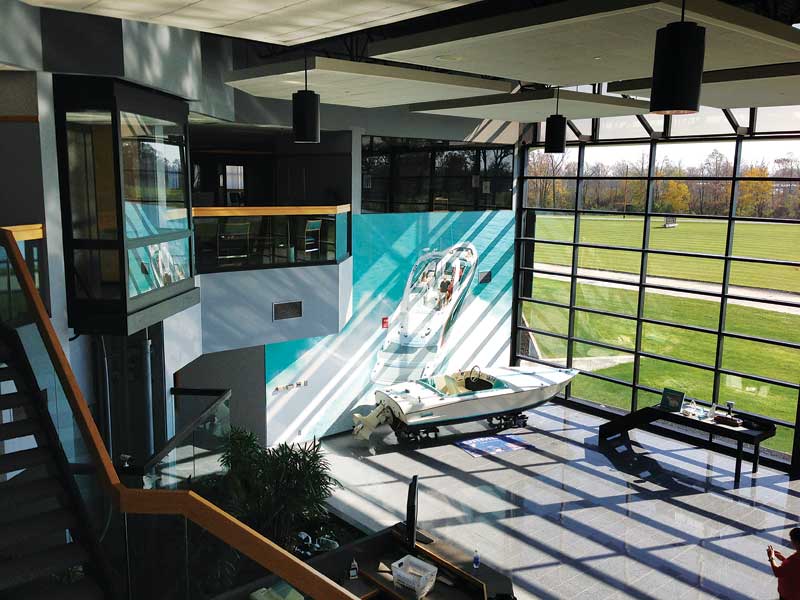
Wall graphics can be used creatively in the larger context of interior decor, e.g. to create faux window effects.
Preparing the wall
Well before beginning the installation, it is imperative to properly prepare the wall surface, particularly if the mural will be permanent.
The wall may need to be patched and repaired to create a smooth surface. Otherwise, any dents or blemishes that are currently barely visible can become unpleasantly obvious after the graphics are installed.
Any old wallcoverings should be removed and any grease and dirt washed off using warm water. Any cracks or holes should be filled with spackling compound and then sanded smooth.
For maximum adhesion, both initially and over time, the wall should be coated with semi-gloss silicone-free paint, following two coats of primer. The paint should then be allowed to dry for a minimum of five days for sufficient outgassing. Otherwise, the mural could bubble and lift.
Freshly painted walls should be wiped down with a lint-free cloth to remove dust. Older paint jobs should be washed with a mixture of 30 mL (1 oz) of a synthetic detergent per 3.8 L (1 gal) of water and allowed to dry for a minimum of one hour.
This is also the time to plan how to handle light fixtures and switchplates. If the mural will cover them for good, the electrical lines and outlet holes should be sealed and covered first. If they will continue to be used, on the other hand, then their co-ordinates need to be marked so holes can be cut in the mural accordingly before the plates are reinstalled.


