
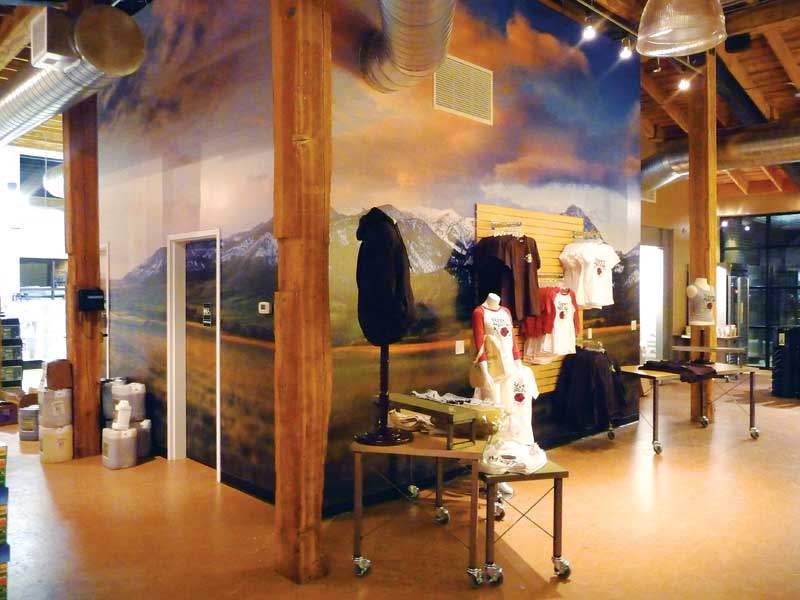
Wide-format Graphics: Creating photographic wall murals
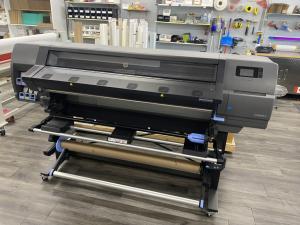
Printing the panels
Many RIP software packages are set up to facilitate the outputting of multiple graphic panels for the same job. Some allow the user to vary panel sizes, set overlap dimensions and place alignment marks on the print.
Overlapping the panels’ edges is important for creating a seamless appearance during installation, as the substrate may contract after drying, due to changes in temperature and humidity. Typical overlap dimensions range from 6.4 to 51 mm (0.25 to 2 in.) and RIP controls allow them to be customized.
Another significant challenge with outputting a mural is maintaining colour consistency across the job. The best precautions are to (a) run the entire job at the same time and (b) run the entire job using the same batch of media. Temperature, humidity and other factors affect the way inkjet printheads perform, so there can be output characteristics from one day to the next, and even the best-manufactured substrates can see slight variations from batch to batch, which can affect colour characteristics of printed graphics.
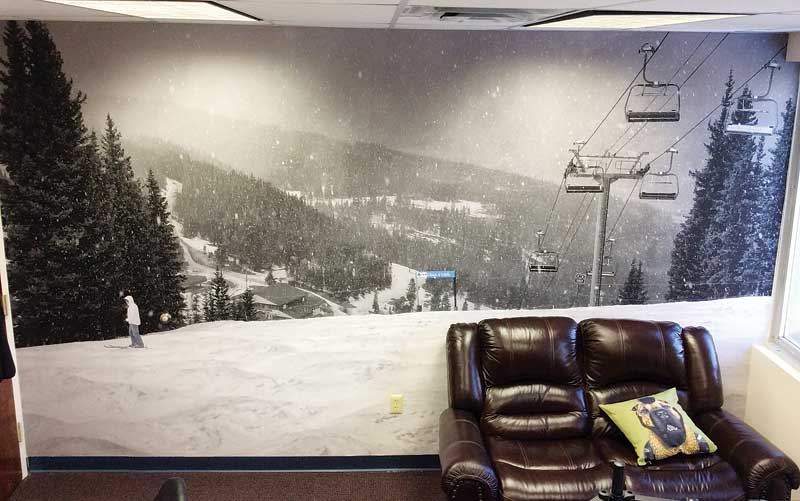
It is especially important to minimize colour variations between adjacent panels. An additional trick is to rotate the panels by 180 degrees in alternate columns for printing. This way, when the panels are reassembled to create the mural, the edges that abut will have been printed on the same side of the press, for less chance of colour variations.
For most of today’s indoor wall murals, a protective finish is not required, but an additional layer of protection might be considered for those that will be repeatedly touched by passersby. Depending on the substrate, this layer could be a liquid laminate or a pressure-sensitive overlaminate film.
Installing the mural
Before installing the panels, they should be lined up in position on the floor to check for any printing errors or other flaws.
Next, a carpenter’s level, T-square or plumb line should be used to mark accurate guidelines on the wall with a pencil or chalk line. These should correspond with the alignment marks printed on the panels.
The most critical step of the installation, again, is getting the upper left panel applied squarely. Whether the mural consists of a single strip or multiple panels, it is worth the extra time to get this corner done right.
The first panel should then be laid down with, if needed, a thin coating of wallpaper adhesive on its rear side, applied evenly using a foam roller or pasting brush and brushing out from the centre. A thin coating should also be applied to the respective section of the wall. If the paste is applied too thick, it could cause the paper to soak and tear.
Once each panel is thusly applied, the alignment marks should be double-checked against a carpenter’s level. Then, working from the top down, a damp sponge or smoothing brush can be used to lightly work out any bubbles or wrinkles, making sure not to apply to much pressure to the surface. Also, each panel should be wiped with a clean, damp sponge to remove any excess paste that might have reached the face side.
Installation should proceed methodically without rushing. It is very important to continue checking the positioning; otherwise, coming back to fix an earlier panel would mean ripping up everything back to that point and having to reprint the panels.
It is a good idea to finish the installation in a single session, if possible, so any drying and shrinkage that might occur does so for all panels at the same time, at a room temperature between 15.5 and 24 C (60 and 75 F) and with any drafts minimized. It is also important to wait until the entire mural is applied before trimming the outer perimeter with a razor knife.
In the end, a methodical approach will pay off in terms of minimizing waste and avoiding do-overs.
Jeff Goetze is a national account executive for Lexjet, which manufactures and distributes materials and equipment used for wide-format inkjet printing. For more information, visit www.lexjet.com.
Sign up for our newsletter
Featuring breaking news from Canada's sign and graphics industry.
Products


Read the Latest Issue

