Wide-format Graphics: Creating photographic wall murals
by all | 3 November 2016 10:15 am
Photos courtesy LexJet
By Jeff Goetze
Wall murals are not, in themselves, a new medium. From prehistoric cave paintings to first-century frescoes, people have always been decorating walls to change indoor ambience. Today, however, large-format digital inkjet printers and substrates optimized for photographic image reproduction have made large-scale environmental graphics more popular than ever in retail stores, hotels, museums, restaurants and other facilities—particularly since production and installation are both easier now than when frescoes involved the application of earth pigments directly to wet lime plaster. That said, the process still requires attention to detail.
Choosing an image
In some cases, the client will provide an image for a wall mural, such as a photo of a retail product for display in a store. In others, however, there may be many creative possibilities and perspectives to consider.
Murals for offices and public spaces, for example, may be chosen to support an architectural design scheme or simply to create a pleasant atmosphere. For these types of jobs, it is common for print service providers (PSPs) to assist clients in image selection, as they know from experience what has worked well for similar projects. Sources may include stock photography or partnerships with professional photographers and designers.
Some pro photographers have converted their archived images into wall murals and/or teamed up with PSPs who offer large-format graphic production and installation services. In many cases, they handle small-scale projects for such clients as medical offices, to put patients at ease while waiting, or food-service establishments, to create a distinctive ambience.
Sourcing photos only from experienced professionals is highly recommended. Otherwise, image flaws that might not be noticeable at first glance can become glaring imperfections when they are enlarged to wall-size scale. An amateur photo will rarely translate into a high-
quality mural.
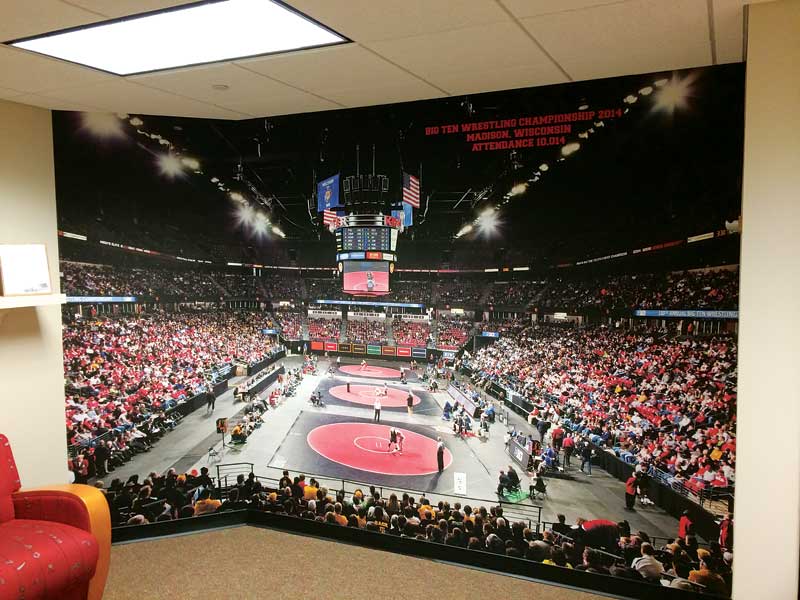
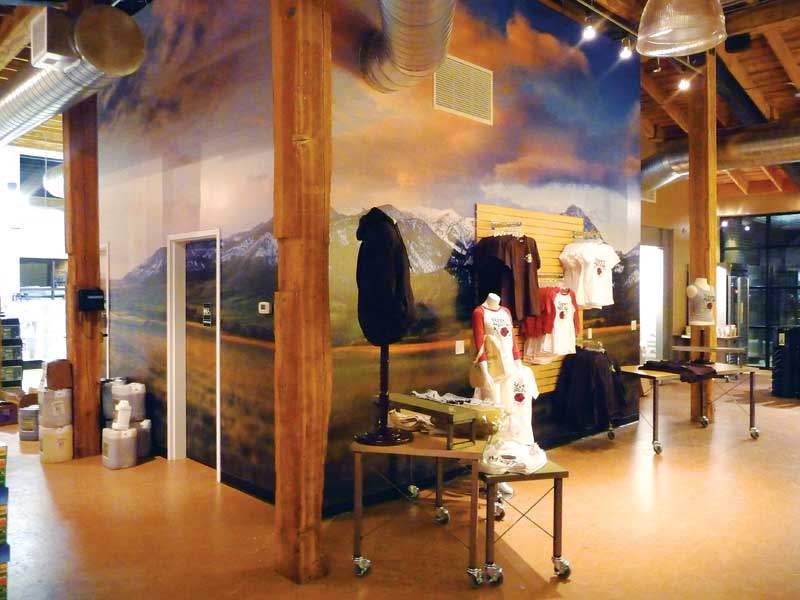
Large-format digital inkjet printing has made wall murals more popular than ever.
Image selection is subjective, but to help guide the process, it is a good idea to ask the client the following questions:
1. What do you want the space to accomplish?
2. What is the purpose of the image (i.e. to motivate, relax or distract)?
3. What are the wall’s dimensions, the ceiling’s height and the lighting conditions?
4. Are there windows and will the image be consistent with the view?
5. Do these conditions require the image to make the space seem larger or, conversely, more intimate?
Another related factor is viewing distance. The greater the distance, the lower the file-size requirements for the source image.
Wall murals are often used in the greater context of interior design and, as such, the designer may want to enhance the illusion of the image by accommodating other physical components. One common example for a room without windows is to add faux sashes, panes, mullions and drapery to create the same effect as a window.
Choosing the substrate
The choice of printable substrate should be connected to the choice of image. There are a wide variety of wallcovering materials and adhesive-backed fabrics and vinyls that can be used to create photographic murals, each with its own set of esthetic properties and installation characteristics. Their surface textures, whiteness levels and opacities will all affect the look of the print.
Materials manufactured specifically as wallcoverings tend to provide the necessary thickness, texture and opacity needed to disguise any photographic imperfections. They can be applied with traditional wallpaper paste. Texture options may include woven canvas for museums and hotels, smooth velvet for corporate and health-care facilities and pebble finishes for images with softer details.
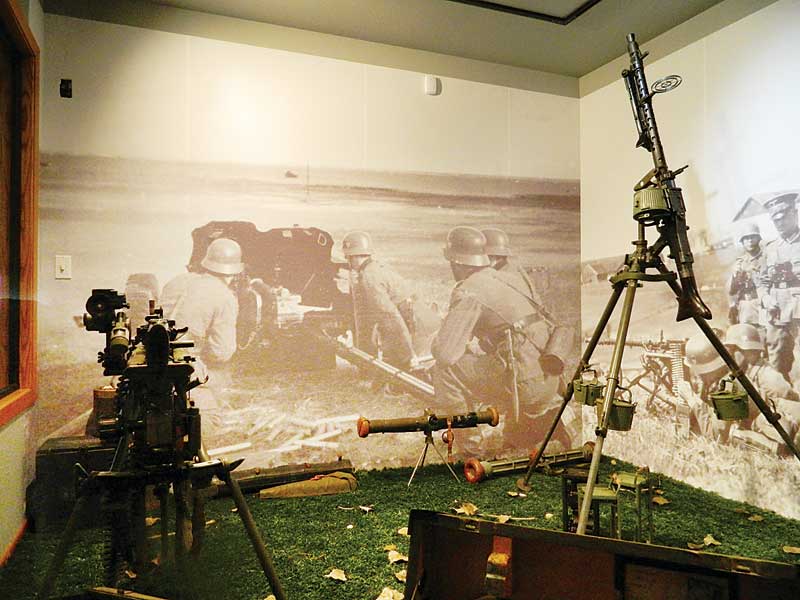
One common place to find large-scale environmental graphics is in museum exhibits.
Self-adhesive fabrics offer print-and-stick functionality for application on a wide range of wall surfaces. Some are rip-, wrinkle- and stretch-resistant. And some allow cut-out contoured images to be applied, repositioned and removed without leaving any residue behind.
Wallpaper free of polyvinyl chloride (PVC) has been environmentally certified by organizations like Underwriters Laboratories (UL) for indoor use where volatile organic compounds (VOCs) are restricted. The material should also be mildew- and flame-resistant.
Another advantage of fabrics over shinier vinyls is they do not reflect glare from light in the room or coming in the windows. That said, conformable self-adhesive vinyl may be necessary for placing murals on surfaces that do not work well with traditional adhesives, such as rough-
textured concrete.
While some smaller-scale mural materials can be installed by staff with no specialized training, full wall wraps should only be applied by professional graphic installers.
Measuring the space
As mentioned, the dimensions of the space will affect the image. This is especially true in terms of file and print resolution.
Even when the client supplies such information, it is a good idea to conduct a site survey in person to get a sense of the space and to be aware of any installation obstacles. It is not sufficient to simply measure the height and width of the wall. Even in newly constructed buildings, the intersections between walls and ceilings may not be level, for example, and if any dimensions are ‘off’ by much, it will be important to compensate for those irregularities in the mural.
If the mural is to be installed flush to the edges of the wall, then the printed graphic should be slightly larger than the wall by about 13 mm (0.5 in.) to create a ‘bleed.’ Extra attention will need to be paid in the initial stages of installation.
If the mural will not be flush, it is still important to determine if the edge dimensions are level. If not, the potential challenge is an uneven border in cases where the top edge of the mural is level but the intersection of the wall and ceiling is not.
Lighting needs to be taken into consideration. Fabrics, for example, will reflect less glare than shinier vinyl-based materials.
In other words, PSPs should never take for granted the dimensions of a room will be perfect for a series of rectangular graphic panels. The easiest and safest policy is to use a carpenter’s level to create an absolute and square starting point for the first panel in the upper left corner, then use it as a reference point for subsequent panels.
Determining image resolution
Enlarging photos to the scale of a wall mural tends to go beyond the scope of many PSPs’ everyday work. While raster image processors (RIPs) and design software can do wonders in scaling up photos, it is essential those photos are already at high enough resolution to produce a clear image when printed at their final size.
One rule of thumb suggests a wall mural image file needs 1.5 MB per square foot, but this is not a hard and fast guideline. Better to ensure the image resolution is a minimum of 100 dots-per-inch (dpi) when enlarged to its final size, while 200 dpi is optimal for fine art reproduction and closer viewing.
Nature scenes, textures and abstract artwork are generally more visually acceptable at lower resolutions, while human faces, logos and photos tend to require sharper detail.
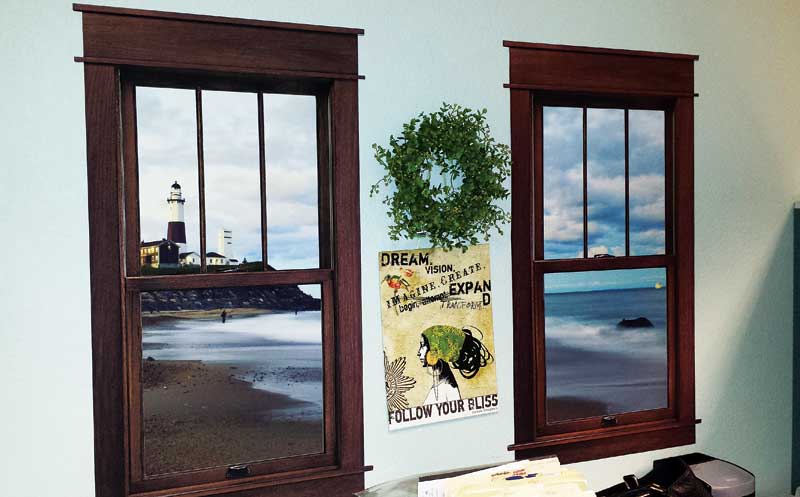
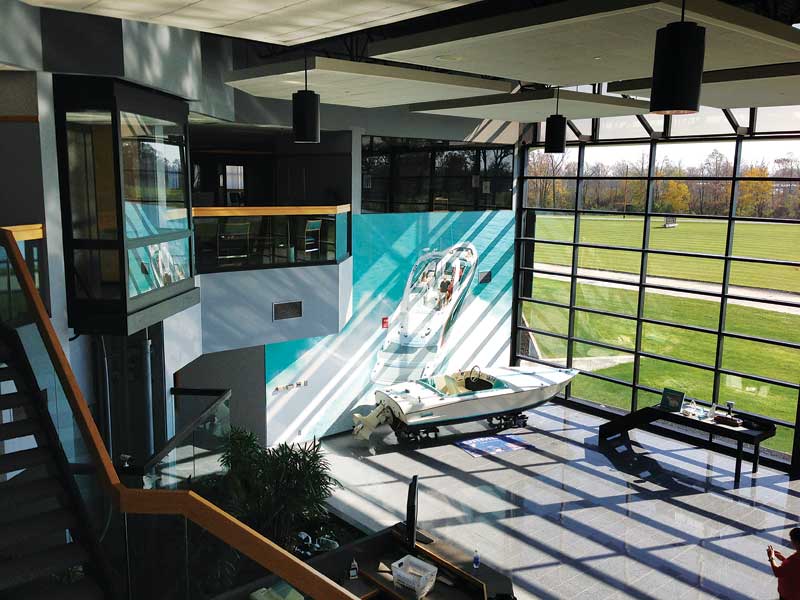
Wall graphics can be used creatively in the larger context of interior decor, e.g. to create faux window effects.
Preparing the wall
Well before beginning the installation, it is imperative to properly prepare the wall surface, particularly if the mural will be permanent.
The wall may need to be patched and repaired to create a smooth surface. Otherwise, any dents or blemishes that are currently barely visible can become unpleasantly obvious after the graphics are installed.
Any old wallcoverings should be removed and any grease and dirt washed off using warm water. Any cracks or holes should be filled with spackling compound and then sanded smooth.
For maximum adhesion, both initially and over time, the wall should be coated with semi-gloss silicone-free paint, following two coats of primer. The paint should then be allowed to dry for a minimum of five days for sufficient outgassing. Otherwise, the mural could bubble and lift.
Freshly painted walls should be wiped down with a lint-free cloth to remove dust. Older paint jobs should be washed with a mixture of 30 mL (1 oz) of a synthetic detergent per 3.8 L (1 gal) of water and allowed to dry for a minimum of one hour.
This is also the time to plan how to handle light fixtures and switchplates. If the mural will cover them for good, the electrical lines and outlet holes should be sealed and covered first. If they will continue to be used, on the other hand, then their co-ordinates need to be marked so holes can be cut in the mural accordingly before the plates are reinstalled.
Printing the panels
Many RIP software packages are set up to facilitate the outputting of multiple graphic panels for the same job. Some allow the user to vary panel sizes, set overlap dimensions and place alignment marks on the print.
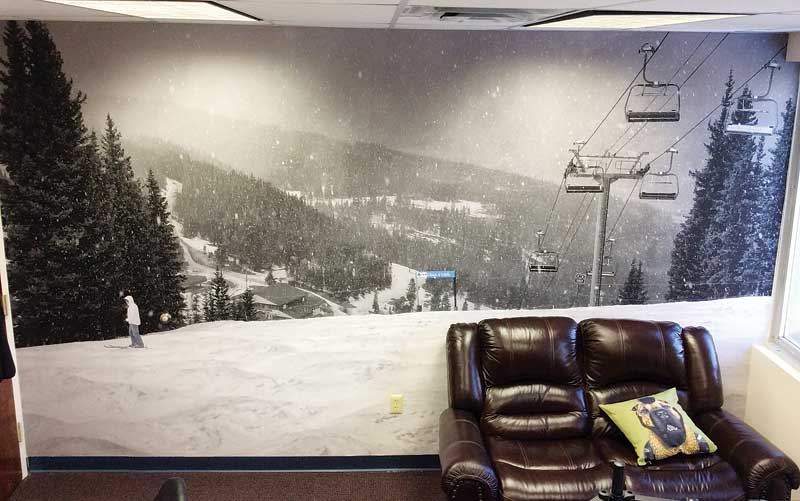
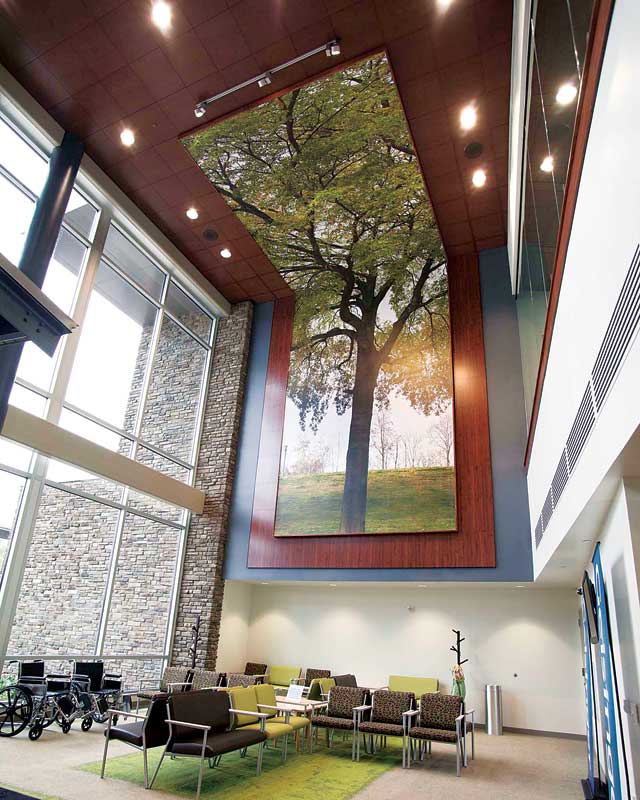
In offices and public spaces, murals are often added simply to create a pleasant atmosphere.
Overlapping the panels’ edges is important for creating a seamless appearance during installation, as the substrate may contract after drying, due to changes in temperature and humidity. Typical overlap dimensions range from 6.4 to 51 mm (0.25 to 2 in.) and RIP controls allow them to be customized.
Another significant challenge with outputting a mural is maintaining colour consistency across the job. The best precautions are to (a) run the entire job at the same time and (b) run the entire job using the same batch of media. Temperature, humidity and other factors affect the way inkjet printheads perform, so there can be output characteristics from one day to the next, and even the best-manufactured substrates can see slight variations from batch to batch, which can affect colour characteristics of printed graphics.
It is especially important to minimize colour variations between adjacent panels. An additional trick is to rotate the panels by 180 degrees in alternate columns for printing. This way, when the panels are reassembled to create the mural, the edges that abut will have been printed on the same side of the press, for less chance of colour variations.
For most of today’s indoor wall murals, a protective finish is not required, but an additional layer of protection might be considered for those that will be repeatedly touched by passersby. Depending on the substrate, this layer could be a liquid laminate or a pressure-sensitive overlaminate film.
It is a good idea to conduct a site survey in person to get a sense of the space and become aware of any obstacles before installing the graphics.
Installing the mural
Before installing the panels, they should be lined up in position on the floor to check for any printing errors or other flaws.
Next, a carpenter’s level, T-square or plumb line should be used to mark accurate guidelines on the wall with a pencil or chalk line. These should correspond with the alignment marks printed on the panels.
The most critical step of the installation, again, is getting the upper left panel applied squarely. Whether the mural consists of a single strip or multiple panels, it is worth the extra time to get this corner done right.
The first panel should then be laid down with, if needed, a thin coating of wallpaper adhesive on its rear side, applied evenly using a foam roller or pasting brush and brushing out from the centre. A thin coating should also be applied to the respective section of the wall. If the paste is applied too thick, it could cause the paper to soak and tear.
Once each panel is thusly applied, the alignment marks should be double-checked against a carpenter’s level. Then, working from the top down, a damp sponge or smoothing brush can be used to lightly work out any bubbles or wrinkles, making sure not to apply to much pressure to the surface. Also, each panel should be wiped with a clean, damp sponge to remove any excess paste that might have reached the face side.
Installation should proceed methodically without rushing. It is very important to continue checking the positioning; otherwise, coming back to fix an earlier panel would mean ripping up everything back to that point and having to reprint the panels.
It is a good idea to finish the installation in a single session, if possible, so any drying and shrinkage that might occur does so for all panels at the same time, at a room temperature between 15.5 and 24 C (60 and 75 F) and with any drafts minimized. It is also important to wait until the entire mural is applied before trimming the outer perimeter with a razor knife.
In the end, a methodical approach will pay off in terms of minimizing waste and avoiding do-overs.
Jeff Goetze is a national account executive for Lexjet, which manufactures and distributes materials and equipment used for wide-format inkjet printing. For more information, visit www.lexjet.com[1].
- www.lexjet.com: http://www.lexjet.com
Source URL: https://www.signmedia.ca/wide-format-graphics-creating-photographic-wall-murals/